
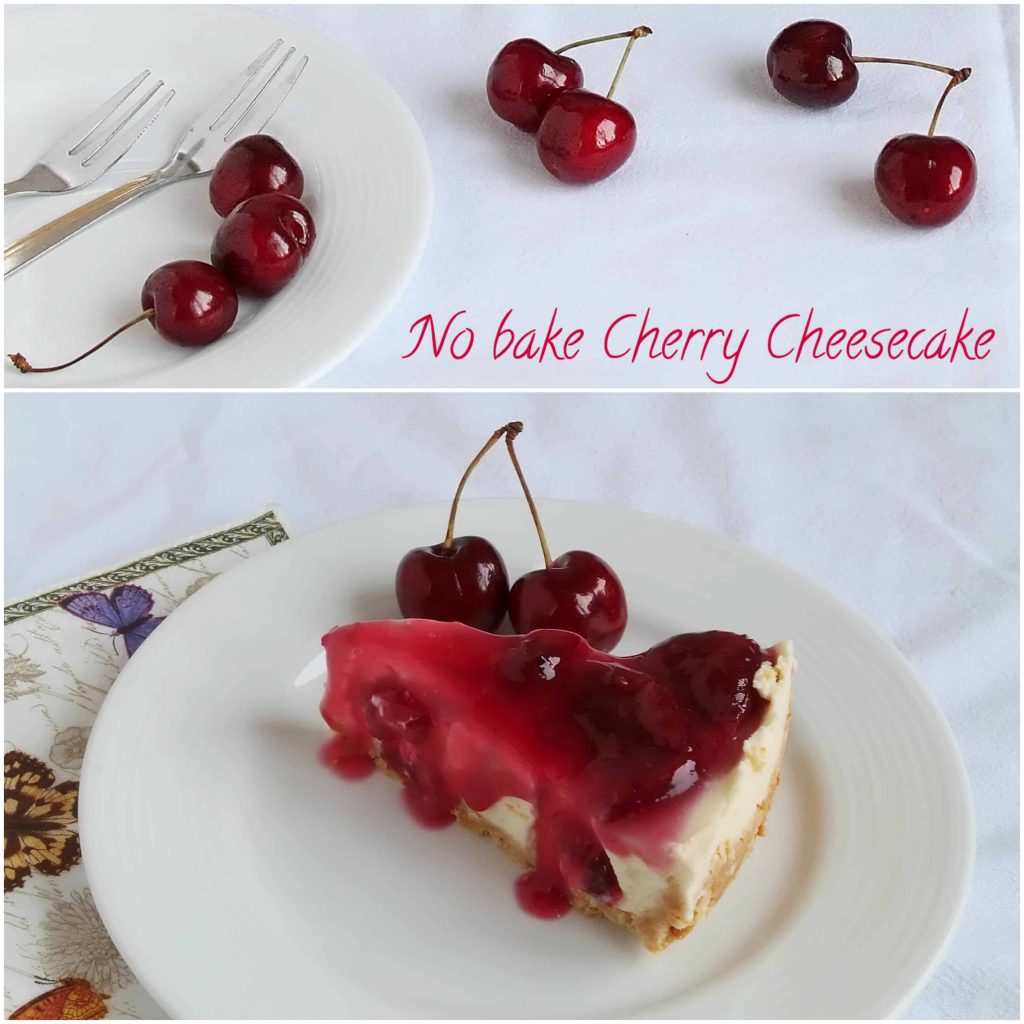
This delicious No-Bake Mascarpone Cheesecake with fresh cherry topping is so delicious! It is incredibly satisfying and easy to make!
The filling contains mascarpone, cream cheese and white chocolate: no gelatin required.
You can prepare it at home with no fuss with the easy recipe and tips below!
What kind of recipe is that
This cheesecake is decadent and refreshing at the same time. I can give you at least 3 reasons why this is the perfect dessert:
- I don't know anyone who dislikes cherries
- I haven't met yet a person who doesn't like mascarpone
- The no-bake cheesecake is a quick dessert with a perfect result (baking is always a challenge when you make a cheesecakes).

What is special about the recipe
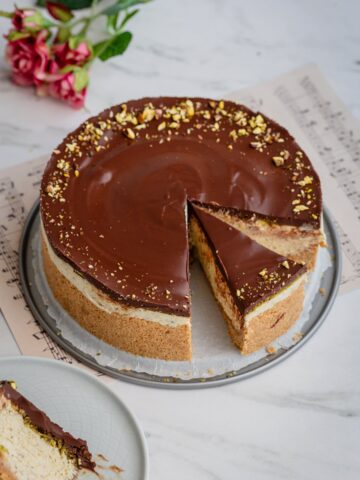
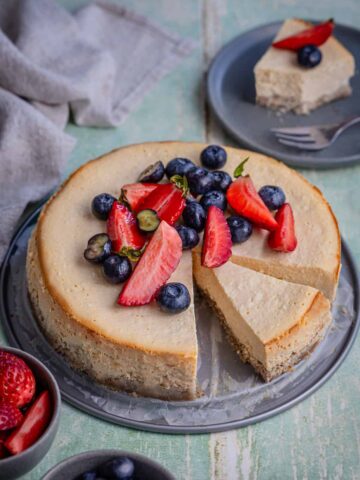
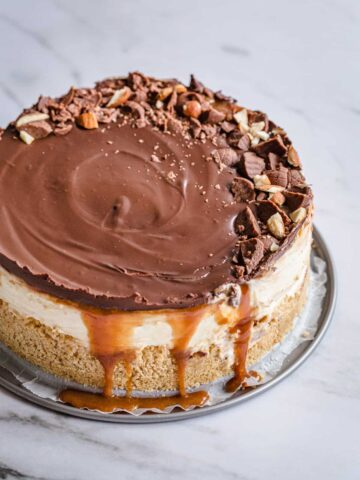
The recipe is very easy. The cheesecake is made with mascarpone, cream cheese and white chocolate is used as a stabiliser. Did you know that you can use chocolate instead of gelatine for cheesecakes? If you are interested in this technique, you may also like these other cheesecake recipes where it is used too:
I would say that the most uneasy part of this cheesecake was to pit and cut the cherries. But once this is done it takes very little before the cheesecake goes to the fridge.

Preparation summary
You should start with the topping as it needs some time to cool. Cook shortly the pitted cherries on the stove and then add some cornstarch to thicken the mixture. It is all easy and takes 15 minutes. Let the topping cool until preparing the rest of the cheesecake.
To make the crust, crush graham crackers or cookies into fine crumbs and mix them with melted butter. This step is typical for most cheesecakes, no surprises there.
The third part is the filling. You have to whip together the cream cheese and mascarpone with some vanilla. Add the melted white chocolate gradually and gently, until the filling becomes smooth. Transfer to the pan with the crust.
And now comes the hardest part: you need to wait about 6 hours so that the chocolate hardens and makes the cheesecake filling the thick and creamy deliciousness that we all love so much!
A special tip
Make sure the mascarpone and cream cheese has been taken out from the fridge about 30 minutes before adding the melted chocolate to them. Also make sure you mix the melted chocolate about 10 minutes after removing it from the heat, so it cools down gradually. This is all to minimize the temperature difference.
The issue with cold filling + hot chocolate is that the chocolate might harden quickly, before being distributed evenly in the filling. That will result is crumbly and uneven texture.
Recipe FAQ
Some people use a chopstick or wooden skewer to push the bone out of the cherry from the part where the stem grows down. My mom taught me to pit them with the bottom of a safety pin: just scoop the bone with it and take it out.
Yes! Unlike other no bake cheesecakes with gelatin, this one can be frozen for up to 3 months, without its consistency being negatively impacted.
📝 Recipe
No-Bake Mascarpone Cheesecake with Fresh Cherry topping
Ingredients
For the topping:
- 1 cup / 250 g cherries, pitted and halved
- 4 tablespoon sugar
- 2 tablespoon water
- 1 teaspoon vanilla extract
- 1,5 tablespoon cornstarch
For the crust:
- 5 oz/ 150 g graham crackers, (about 10) or vanilla waffers or petit beurre cookies
- ½ cup / 80 g butter, melted
For the filling:
- 1 ¾ cup / 400 g cream cheese
- 1 ⅓ cup / 300 g mascarpone
- 7 oz / 200 g white chocolate, chips or block
- 3 teaspoon vanilla extract
Instructions
Topping:
- In a saucepan over medium heat combine cherries and sugar. Stir gently until the mixture starts bubbling. Lower the heat and cover the pan with a lid. Let the cherries simmer for about 10 minutes.
- Mix the cornstarch with the water and add to the pan. Stir continuously with a spoon until the topping starts getting thicker. Remove the pan from the heat and let cool.
Crust:
- Crush the cookies into fine crumbs in a food processor or with a rolling pin in a plastic bag. Mix them well with the melted butter.
- Press the crust to the bottom of a 8-9 inch (22-24 cm) spring form pan. Leave the pan in the fridge while preparing the filling.
Filling:
- Combine the cream cheese and the mascarpone and beat with a mixer until smooth.
- Melt the chocolate in a bowl over a pan with a simmering water. Remove from heat and mix about 10 minutes, to cool down.
- Add the chocolate to the cheese mix. Stir gently, until the filling becomes smooth.
- Spread it onto the prepared crust. Leave the cheesecake in the fridge for 30-60 minutes before topping it.
- Refrigerate the cheesecake about 4 to 6 hours before serving.
Notes
- Make sure you take the mascarpone and cream cheese from the fridge 30 minutes before starting to make the filling. After whipping them, keep the mixture at room temperature.
- Store the cheesecake in the fridge for 2-3 days

Maria Kirova says
Здравейте!
Следвах всичко както е по рецепта и се получи.
Моля за съвет,какво нишесте да се използва,за да не се вдърви,а да бъде течно в течен вариант,както при вас, до колкото виждам по снимките.
Благодаря ви
Daniela says
Здравейте, Мария! Радвам се, че рецептата се е получила 🙂
Ползвам всякакво нишесте и не намирам особени разлики в различните марки. Струва ми се, обаче, че малко съм намалила количеството на водата в тази рецепта: 2 с.л. вероятно не е достатъчно. Водата може да се увеличи, колкото да се получи еднородна смес и да не е на бучки, преди да се изсипе при черешите.
Надявам се да съм била полезна!