
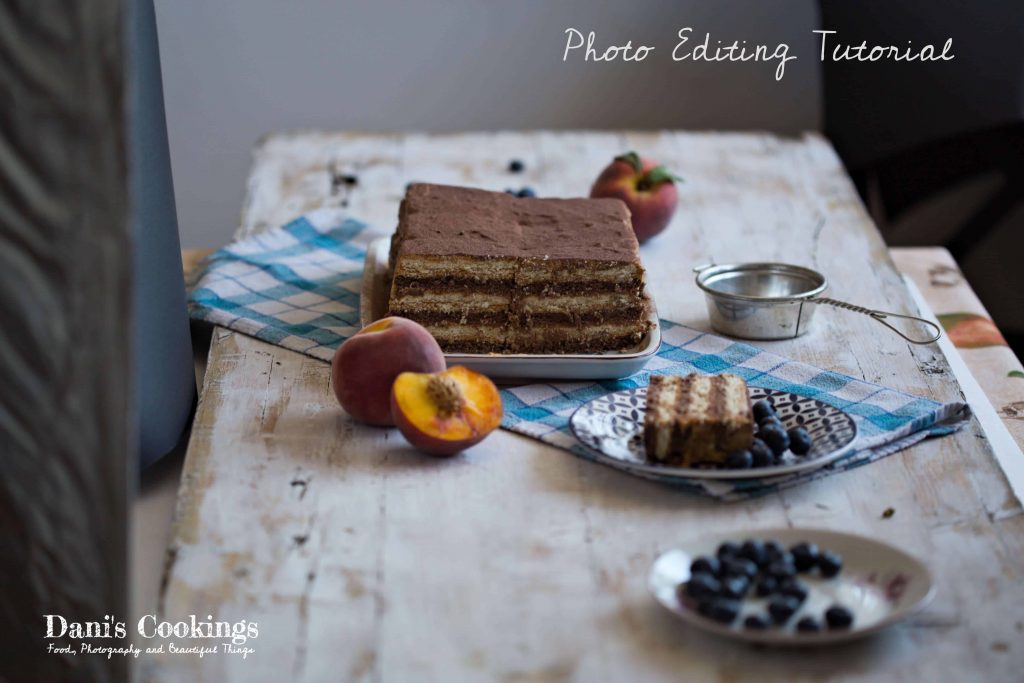
Today I am not posting a new recipe but instead I would like to write a bit about Food Photography. I created a quick photo and video tutorial showing you the editing process of one of my photos.
The photo is from the recipe Apricot Cake Roll.
Many people ask me how do I make my photos so nice. The truth is that it took me quite a long time to learn food photography: you can read more about my journey in Blog Resources. And by the way, I am still learning!
On the other hand I know people who believe that a photo needs to be edited only when it is not good and has to be "fixed". This is not true at all: nothing can fix really bad photos but really good photos can become almost perfect after few well done retouches. I edit 99% of my photos, even if it is only a matter of adjusting the contrast.

This photo editing tutorial is very simple. It represents my very basic editing workflow which I use in big part of my photography. Of course, I almost never use the same values of the different enhancement techniques as every photo is unique. Indeed, my view is that a food photographer's goal should be to enhance the photos rather than to retouch them and that has always been my goal.
Before starting the tutorial I would like to give you some info about the photo shooting process and the story of this shot.
Photo Story
This was my Apricot Cake Roll which I wanted to be orange (obviously), vibrant and full of summer vibes. At the same time I wanted to present it in a cozy environment on a wooden table and complimented by a contrasting colour: blue.
The composition of this photo is Framing: the Apricot Roll on its plate is surrounded by several props: apricots on the top left, lace napkin on the bottom left, a piece of the roll on a small plate on the bottom right and another piece of the roll in a plate held by a model on top right. The props are all blurred or shadowed and the main object is shiny and sharp. After taking the photo my goal was to enhance the sharpness and lightless of the Apricot Roll.
Before starting to edit the photo you need to think what you want to accomplish or which objects you want to enhance and which ones to make secondary. In this case I wanted to literally highlight my Roll and to "put under a shadow" all the rest.
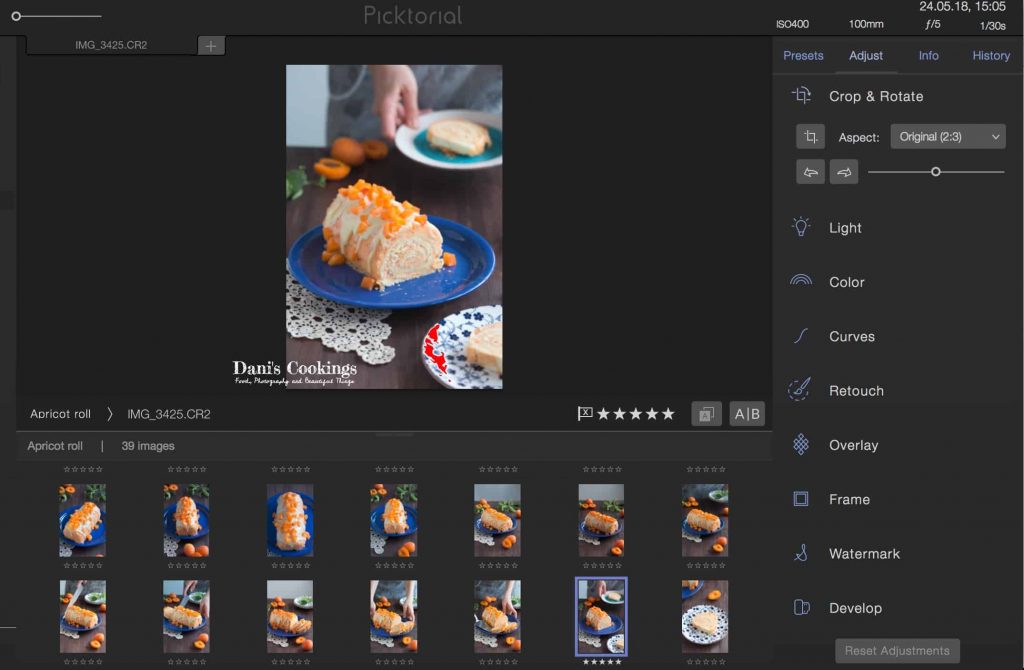
Photo Shooting
The photo was taken on a natural light coming from a window on the right. There was a white reflector on the left.
Photo equipment: Canon 6D with 100 mm macro lenses placed on a tripod. Manual mode, self timer.
ISO: 400, f5, 1/30s
Image quality: RAW
Model in the background: myself wearing a grey apron.

Photo editing steps (see also video)
The photo is edited in the software I am currently using: Picktorial. It is a software for Mac only (sorry PC users) which is powerful and very affordable at the same time. It has a similar workflow as Lightroom so for sure the below steps would be applicable and useful for you even if you never used Picktorial. Actually I believe this tutorial would be useful for you even if you don't edit your photos yet as through the steps below you can understand what you need to look for in a photo editing software. Still if you are a Mac user I really recommend you to try Picktorial: it also has a free trial!
1. Check if any rotation or crop is needed. Sometimes the image might not look straight and might need to be adjusted. This is not the case in this photo so I didn't make any adjustments.
2. Light
Contrast: 18
Clarity: 11
Highlights: -25
In many cases I also adjust the exposure but not in this photo. I find it enough exposed later I adjust the light only of the Apricot Roll so that it pops in the middle of the shadows.
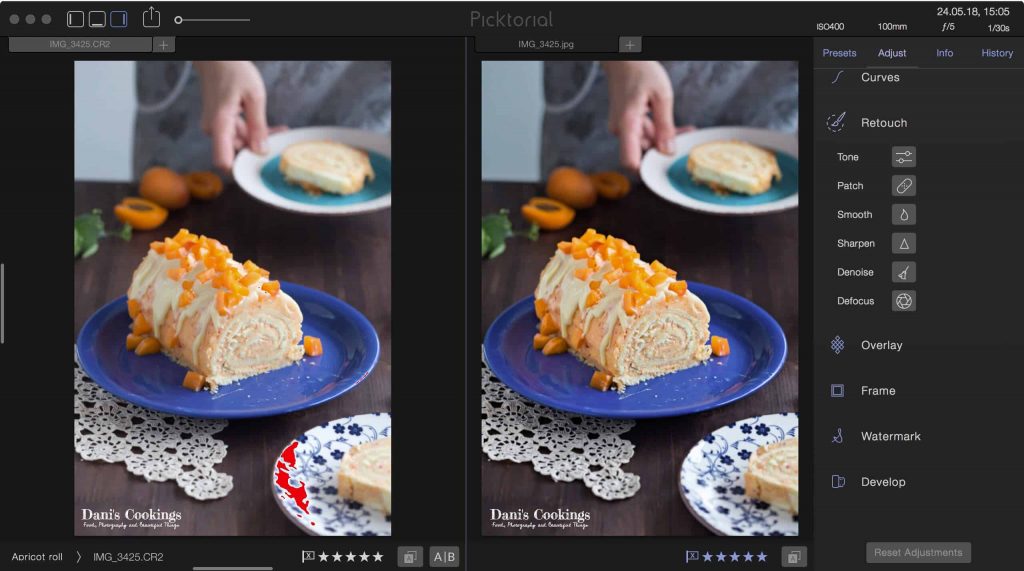
I decreased the highlights in this case as in the plate on the bottom right there was an overexposed part, highlighted in red in Picktorial.

3. Color
Saturation: 7
Vibrance: 12
Some people don't increase the saturation additionally but I almost always do. It's because I like my photos bright and with vivid colours. This is part of my personal style, you might like them differently.

4. Retouch (local adjustments)
- Tone 1:
Exposure: 0.15
Shadows: 17
In Picktorial you can use several local adjustment tones (like the adjustment brushes in Lightroom and Photoshop). I used this first one to lighten a bit the shadowy left side of the Apricot Roll.
Initially I set exposure to -5 and Shadows to 12 but then I realised that I needed more light so I changed the values.
- Tone 2:
Exposure: -0.15
Shadows: -10
This tone is decreasing the exposure and increasing the shadows in the central part of the Apricot Roll where the light is falling. By darkening this part I am adding a bit more contrast to the roll.
- Tone 3:
Exposure: -0.75
With this brush I am giving a bit of a vignette effect to the photo: It is darkening the parts surrounding the Apricot Roll so that it can pop out even better.
- Sharpen:
Adjust coarse: 4
I am sharpening only the Apricot Roll for the same purpose as above.

And that's it! Do you find the difference between the two photos? I think the adjusted photo is really better than the original one - actually more vivid and enhanced in the right parts. You can also watch the video below which is showing the exact same steps in action. As you can see, the whole editing process here takes a maximum of 3 minutes. It might take you even less. And even better: in Picktorial you can copy and paste adjustments on similar photos which makes your work even faster!
If you liked this tutorial, please let me know! Your feedback will be really helpful for me to understand what future posts will be useful and interesting for you. Was this post easy to follow or it needs any improvement? Do you want to see more similar tutorials? Was the video clear and did it add value to the whole post? Let me know in the comments what you think 🙂
[su_youtube url="https://youtu.be/ywNujMAkOqY" width="854" height="480"]
Petya Andreeva says
Здравей,Дани!Благодаря ти за хубавата публикация!Намирам я за полезна,тъй като в момента се боря с това да разбера как да коригирам снимките си,така че да постигна първоначалния си замисъл.Радвам се на новата ти рубрика и ще очаквам още уроци!
Daniela says
Много се радвам, Петя! Благодаря за коментара 🙂