
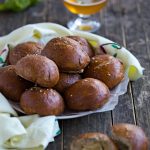
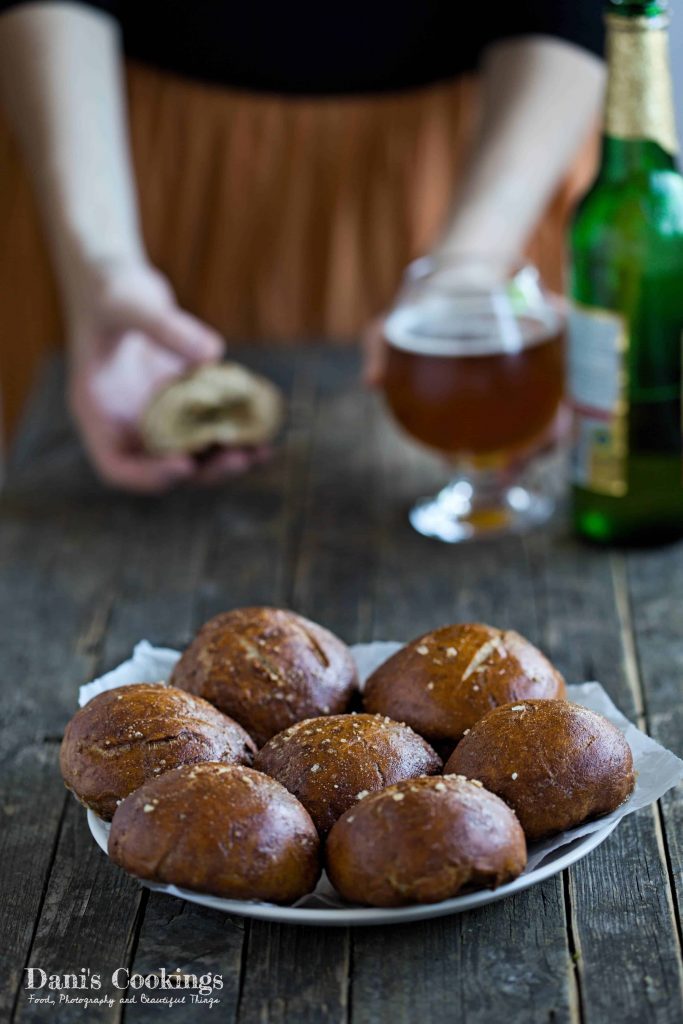
Who doesn't love pretzels? These are our favourite braided breads with brown crust and fluffy inside part. You probably know them well, but you might not believe that you could bake them at home. In this post I will give you a nice recipe for homemade pretzel rolls stuffed with cheese. You can also make them without the stuffing and they still will be delicious!

What are pretzel breads
As you might expect, most probably pretzels were invented in Germany, where they are particularly popular. It is believed that they have been created by local monks. Traditionally pretzels are prepared in their specific braided shape, but nowadays there are other variations as well. One of the characteristics of the pretzel is its brown colour, which is achieved by dipping it in boiling water with baking soda before baking.
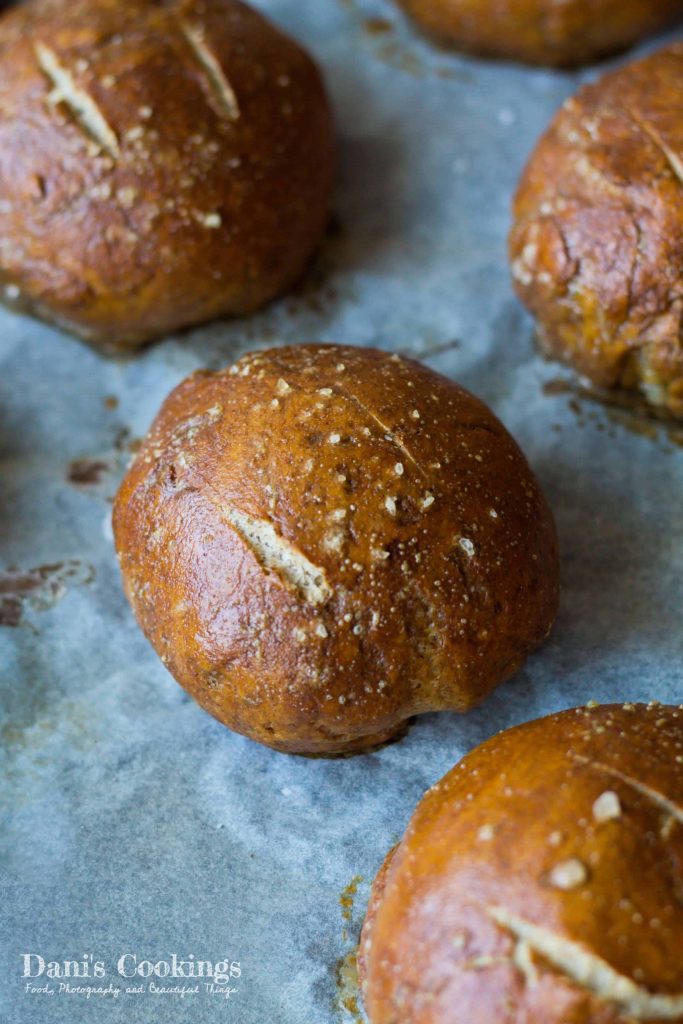
How are these Pretzel Cheese Breads Made
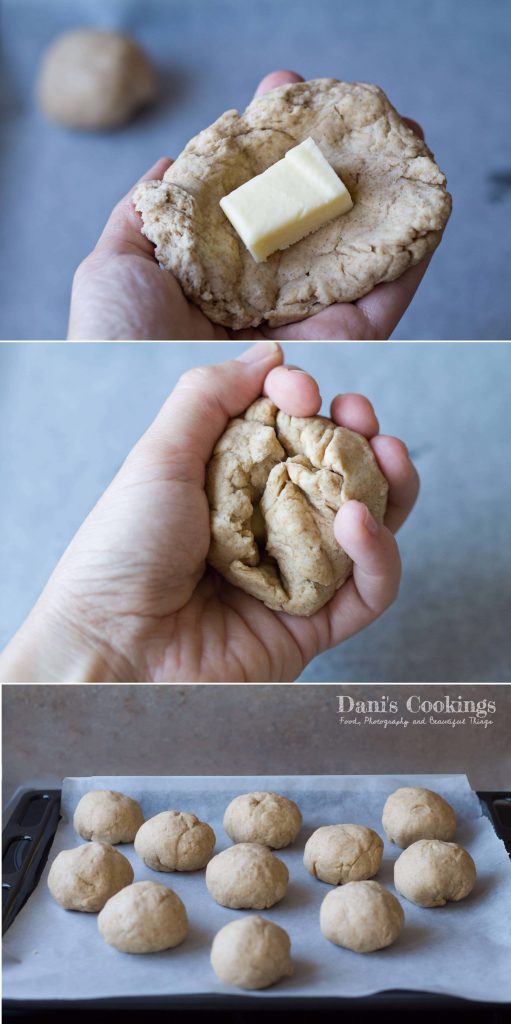
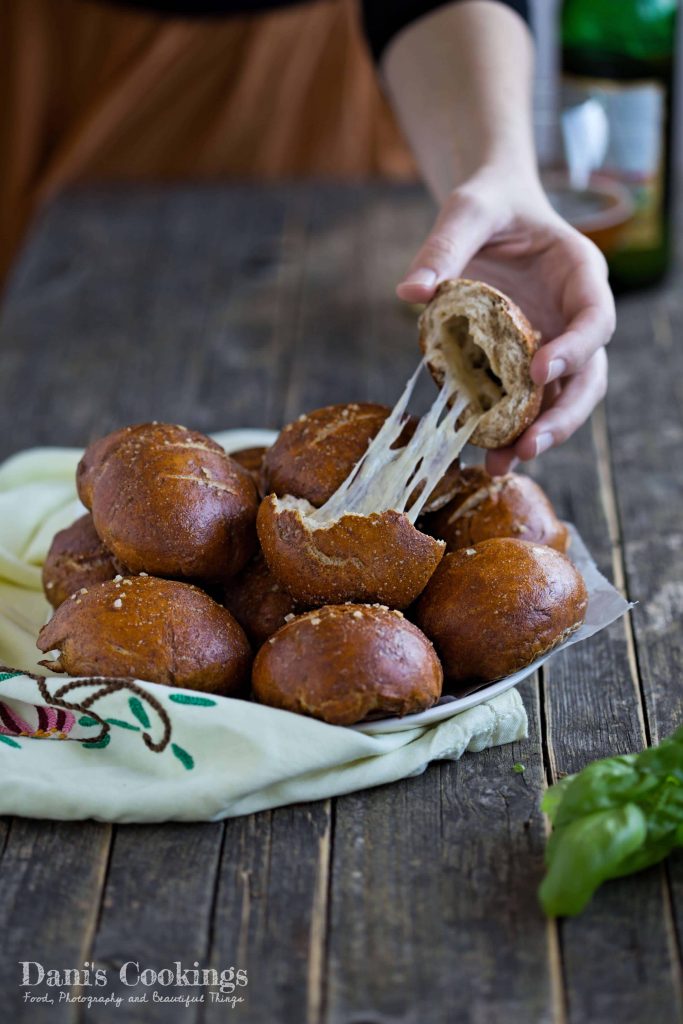
If you love plain pretzels, imagine how amazing they are if filled with yellow cheese. Shaping them as rolls makes them not only easier to prepare but also convenient for stuffings. In this case, the most important moment is to close the piece of cheese very well in the dough so that it does not leak out during baking. Of course, if by chance some of the cheese goes out, it will not be the end of the world, but our goal is to limit such incidents. You need to wrap a piece of yellow cheese very tightly in the dough and then make a ball by rolling it in your hands until you see that there is no visible hole in the roll. In summary: knead the dough, leave it to raise, make bread rolls and stuff them with cheese. Let the rolls raise again and then dip them in boiling water with baking soda. Bake the rolls until brown.
Stuffing variations for the bread rolls
If you are wondering what kind of cheese you can use for stuffing, the answer is easy: your favourite! Mozzarella, cheddar, Emmental, or even gorgonzola: the pretzels would go well with everything! If you prefer them without filling, you can easily skip it and they will be still delicious!
Are these pretzel rolls hard to make
Like most of the recipes in this blog, I wanted these pretzels to be QUICK and EASY, or at least as quick as a bread made of yeast dough could be. And I think I've achieved my goal. The dough raising time is the longest time in this recipe but the good news is that you can do something else while waiting. The total time from start to finish is not more than 3 - 3.5 hours.
How To Serve these Pretzel Bread Rolls
These stuffed pretzel rolls are best warm. They are incredibly good while the cheese is still melted inside. They are also tasty when cold, but if you prefer you can reheat them for few minutes in the oven. You can also freeze them for up to 3 months. I hope you enjoyed this recipe! I would love to receive your feedback about it. If you would like to see more bread recipes, check out the following:
Easy Ricotta Breads
Easy Focaccia Bread Recipe
Feta and Parmesan Crescent Rolls
📝 Recipe
Cheese Stuffed Pretzel Rolls
Ingredients
- 4 cups/ 500 g flour
- 2 tsp/ /7 g instant yeast
- 1 ¼ cup/ 300 ml water
- 1 teaspoon brown sugar
- 1 teaspoon salt
- 2 tbs melted butter
- 5 oz/ 150 g yellow cheese, cut into large cubes
- 3 tbs bicarbonate of soda
- sea salt for sprinkling
Instructions
- In a large bowl (or the bowl of a stand mixer) combine half of the water, sugar, ¾ cup flour and yeast. Cover with cling film and set aside for 15 minutes. The mixture should grow and become foamy.
- Add the rest of the flour and water, salt and melted butter. Mix for about 10 minutes with the dough attachment of the mixer. If you don’t have a mixer, you can use a wooden spoon or knead the dough by hand. The resulting dough should not be too soft. Cover the bowl with kitchen towels until it substantially increases its volume (about 1-2 hours).
- Divide the dough into 8 equal parts. Take one piece and knead it for about 15 seconds, then flatten it in your hand. Place a piece of yellow cheese in the middle and wrap it in the dough. Make a ball by rolling the dough between your hands until there is no visible hole through which the cheese could leak.
- Place the balls on a large baking tray covered with paper. Let them stay for about 30 minutes at a warm place.
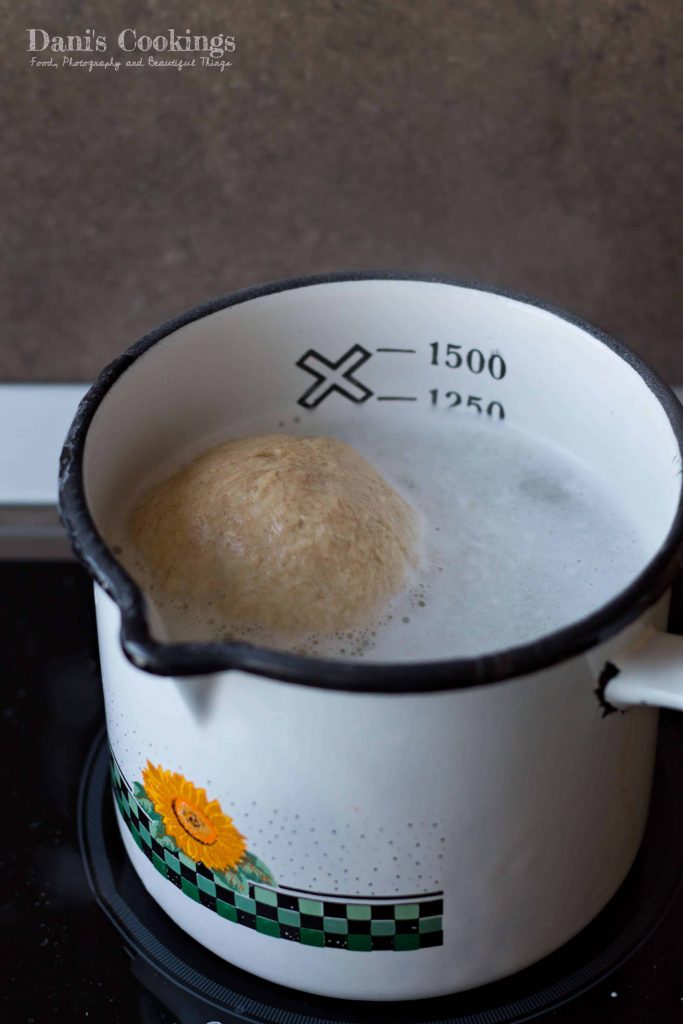
- Fill a pot with water (about 2 quarts) and bring it to a boil. Pour the baking soda in it and start dipping the rolls, one or two at a time, for 20-30 seconds each. Remove them with a slotted spoon and place them back on the tray. After all the bread rolls have been in the water, sprinkle them with sea salt. Bake them at 200 degrees for 20-30 minutes, or until they become brown. Remove the pan from the oven and allow the rolls to cool for 15 minutes before serving.
Notes
- Alternatively substitute half of the water with milk.
- Store the pretzel rolls 2-3 days in airtight container. You can also freeze them for up to 3 months.


Хюлия says
Звучи страхотно, утре ще пробвам!!! Нямам търпение 🙂
Daniela says
Благодаря Хюлия! Ще се радвам да споделиш как са се получили 🙂
Хюли says
Здравей! Днес я опитах рецептата и изпитах лека трудност покрай варенето, защото бях избрала малка тенджера, мислейки че така или иначе само по едно хлебче се вари, но това доведе до кипване заради содата на няколко пъти, но като цяло съм доволна. Станаха малко твърди отвън, не знам дали това е желан/целен ефект или моята фурна е оплескала нещо 🙂 Благодаря за рецептата още веднъж!
Daniela says
Здравей Хюли,
Обичайно прецелите получават коричка вследствие от варенето и мазането с яйце, но не би трябвало да са твърди. Може да станат твърди ако се препекат, друга причина не ми хрумва в момента 🙂
Относно варенето: може би трябваше да спомена, че е важно да не се препълва тенджерата, а да има достатъчно пространство между водата и ръба й, за да се ограничи кипенето.
Радвам се, че са ви се усладили!
Поздрави от мен 🙂