

Discover the charm of Skalichki, the no-bake candies that bring the mountains to your plate. These little rock-shaped treats, made from crushed cookies, nuts, butter, and a touch of chocolate glaze, hold a special place in the hearts of Bulgarians who grew up in the '80s and '90s. A simple dessert, perfect for sharing with loved ones or indulging in a moment of nostalgia.

What Are Skalichki
Skalichki, or "little rocks" are rustic mini desserts that embody ingenuity in the kitchen. While their exact origins are unclear, they're believed to have been created to minimize waste in bakeries, using leftover cookie crumbs or cake trimmings mixed with buttercream to form a new, delightful candy. Their rough, rocky shape and irresistible taste made them a hit, and they quickly became a beloved treat in Bulgarian households.
Over the years, Skalichki earned a reputation as an economical dessert that could be made from simple ingredients. While stories suggest that some less reputable bakeries might have used low-quality ingredients, homemade versions ensure quality and flavor, often surpassing the store-bought varieties. For many, making Skalichki at home is a way to relive childhood memories while enjoying a treat that's just as delicious as they remember.
Ingredients and Variations
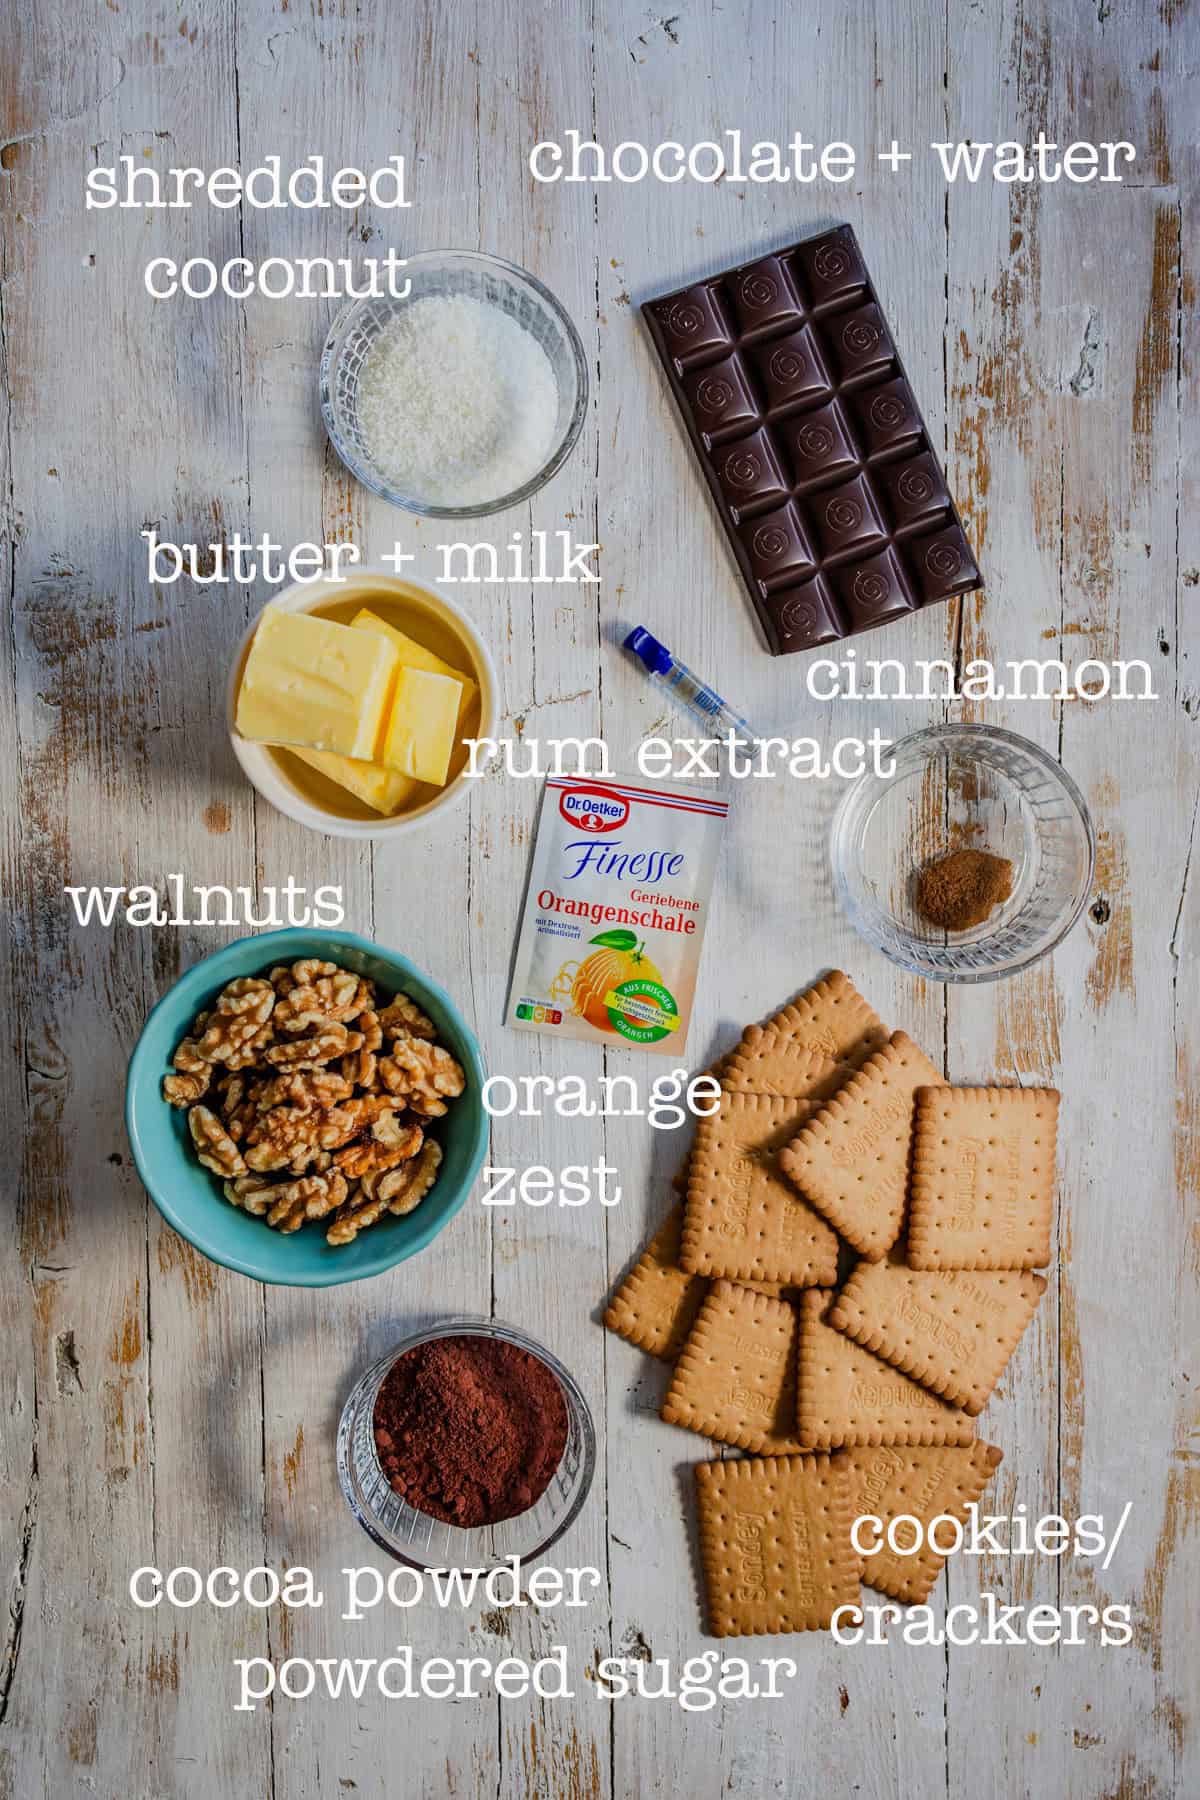
The beauty of Skalichki lies in their versatility. Here are the typical ingredients:
- Cookies/ graham crackers: Any type of plain cookies or sweet crackers works well
- Nuts: Walnuts are traditional, but you can substitute with almonds, hazelnuts, or your favorite variety.
- Butter: Softened to room temperature for easy mixing.
- Cocoa Powder: Optional, depending on whether you prefer chocolate-flavored Skalichki.
- Powdered Sugar: Just a few tablespoons to sweeten the mix.
- Rum Essence: Adds a hint of aromatic flavor.
- Optional Add-Ins: Orange zest, shredded coconut, cinnamon
- Milk: To bind the mixture together.
- Chocolate Glaze: Made by melting chocolate with a splash of water or milk.
Recipe summary
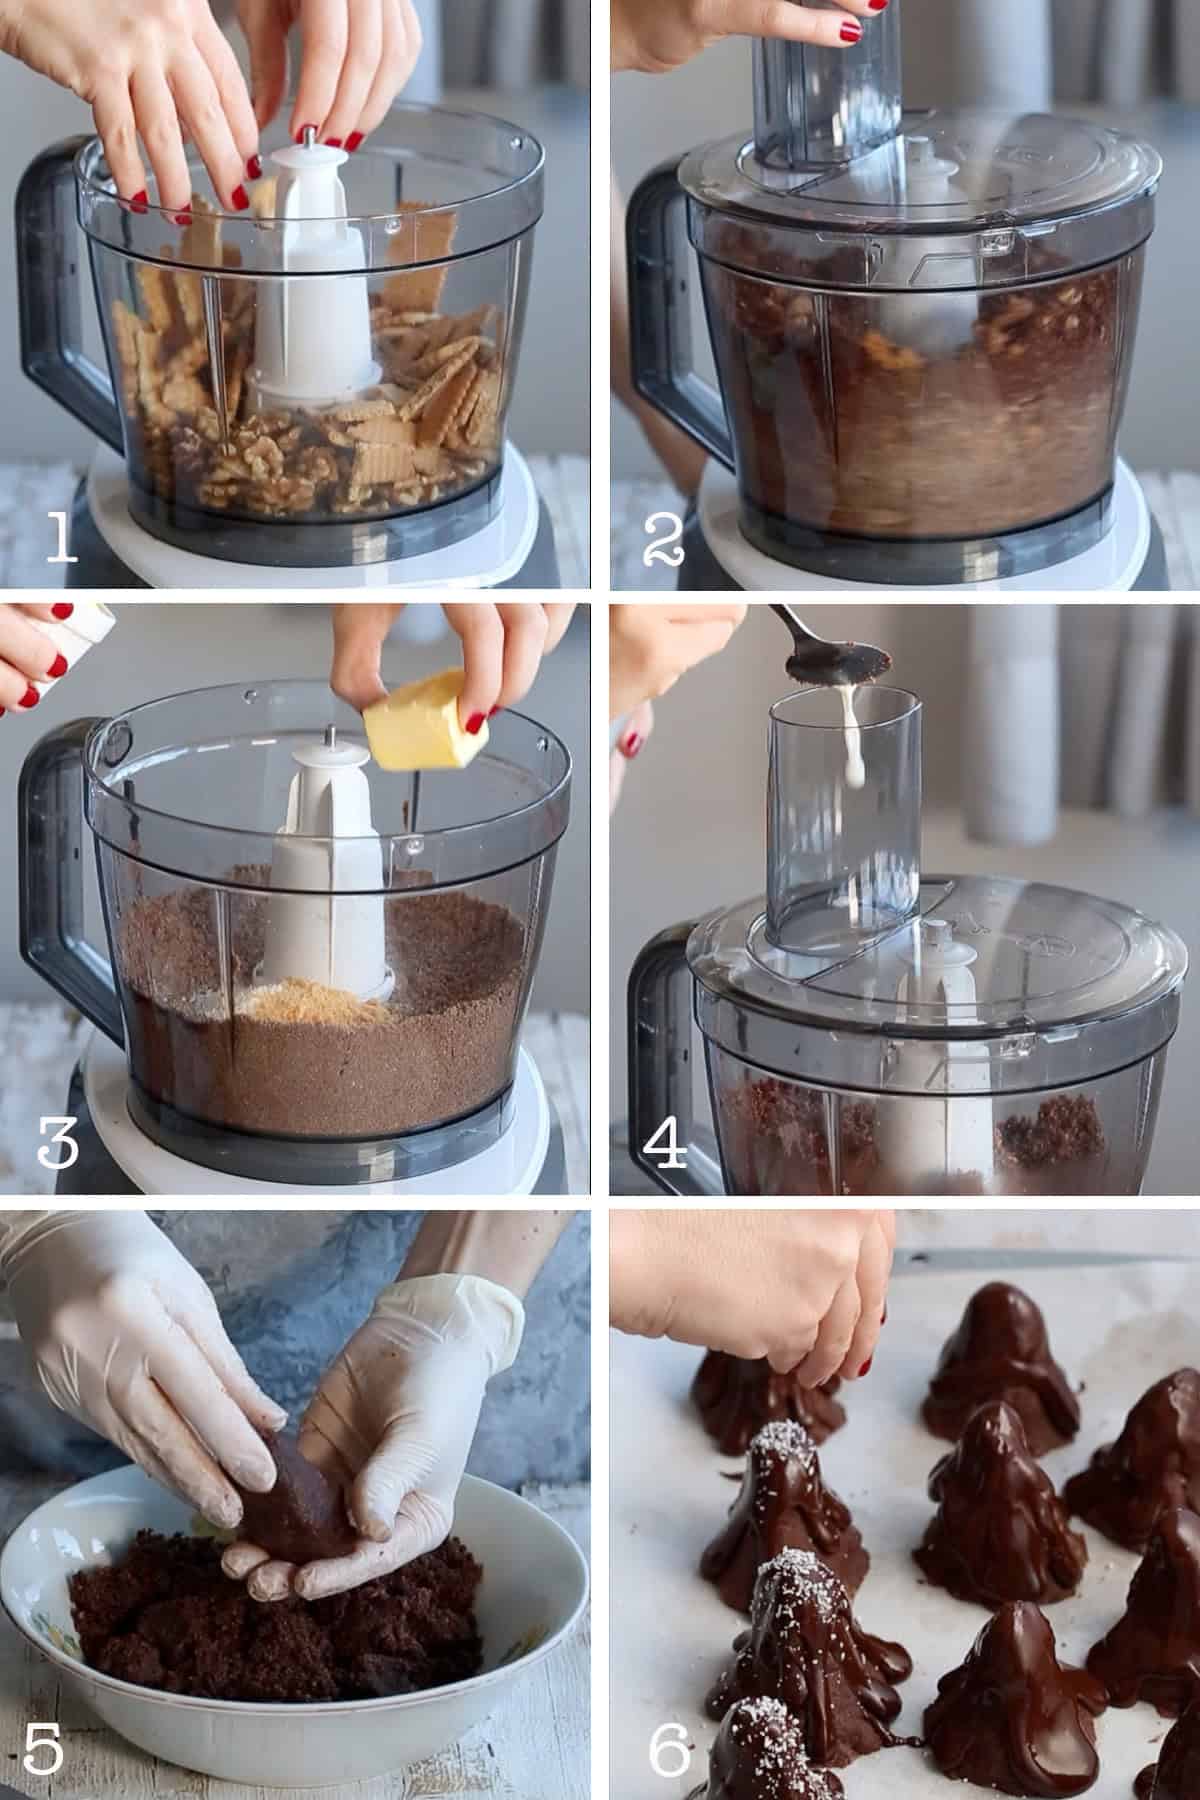
Skalichki are incredibly easy to prepare no-bake mini desserts.
- Use a food processor to blend the cookies, nuts, powdered sugar, and cocoa powder into fine crumbs.
- Add the butter, any optional ingredients, and rum extract, processing until well combined. Gradually add milk to achieve a workable consistency.
- Shape the mixture into small peaks or cones, placing them on a tray lined with parchment paper.
- Coat each candy with melted chocolate glaze, sprinkling shredded coconut on top if desired.
Storing
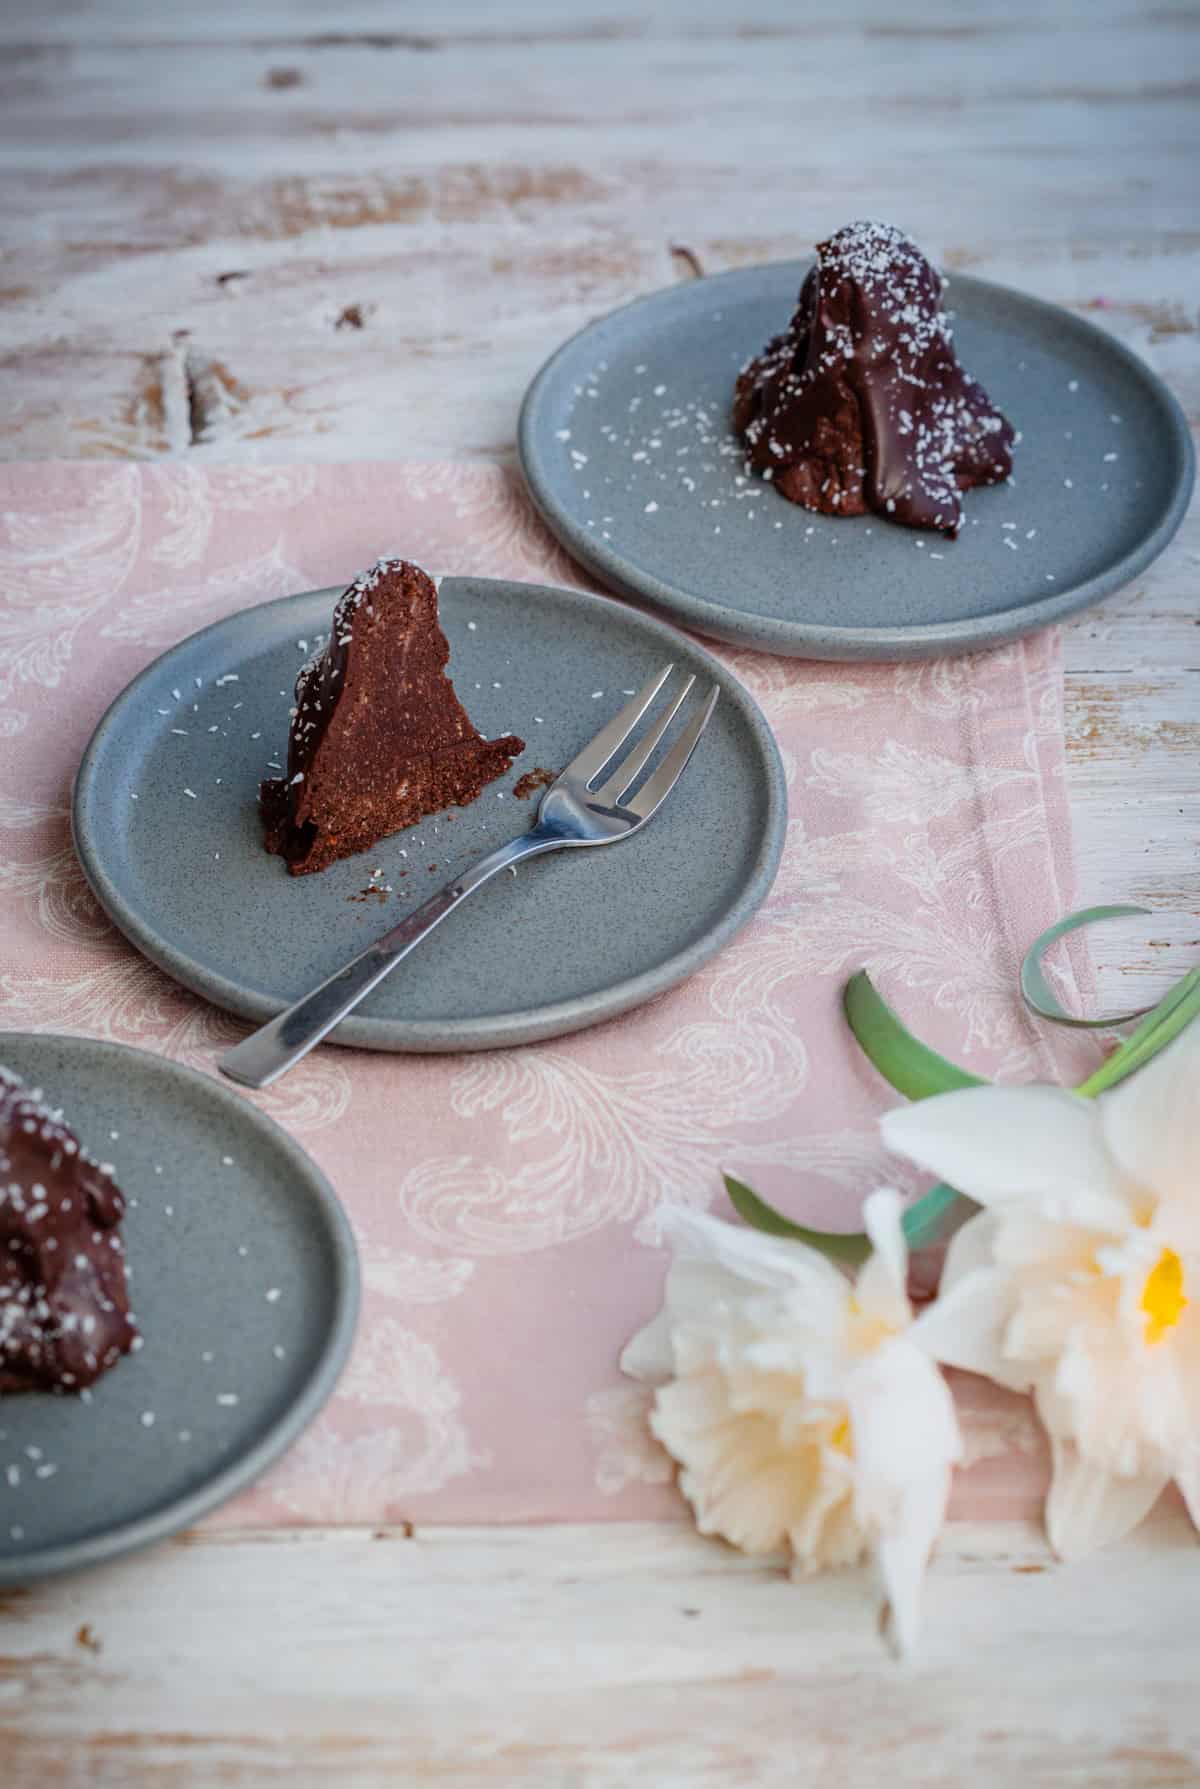
Store Skalichki in the refrigerator for up to 3-4 days or freeze them for up to 2 months in airtight containers.
Variations
- Use leftover cake Instead of sookies or crackers: In this case, you may need less milk or none at all.
- Experiment with Nuts: Substitute walnuts with almonds, hazelnuts, or pecans for a different flavor profile.
- Add texture: For larger pieces in your Skalichki, mix in extra chopped nuts or crushed cookies at the end of blending.
- dairy-free options: swap regular milk with plant-based alternatives, and use dairy-free chocolate for the glaze.
- Natural sweeteners: Replace powdered sugar with alternatives like erythritol, maple syrup, or honey, adjusting the milk quantity accordingly.
- Extra mix-Ins: Incorporate raisins, candied orange peels, or chocolate chips for added richness.
Why Skalichki Are Special
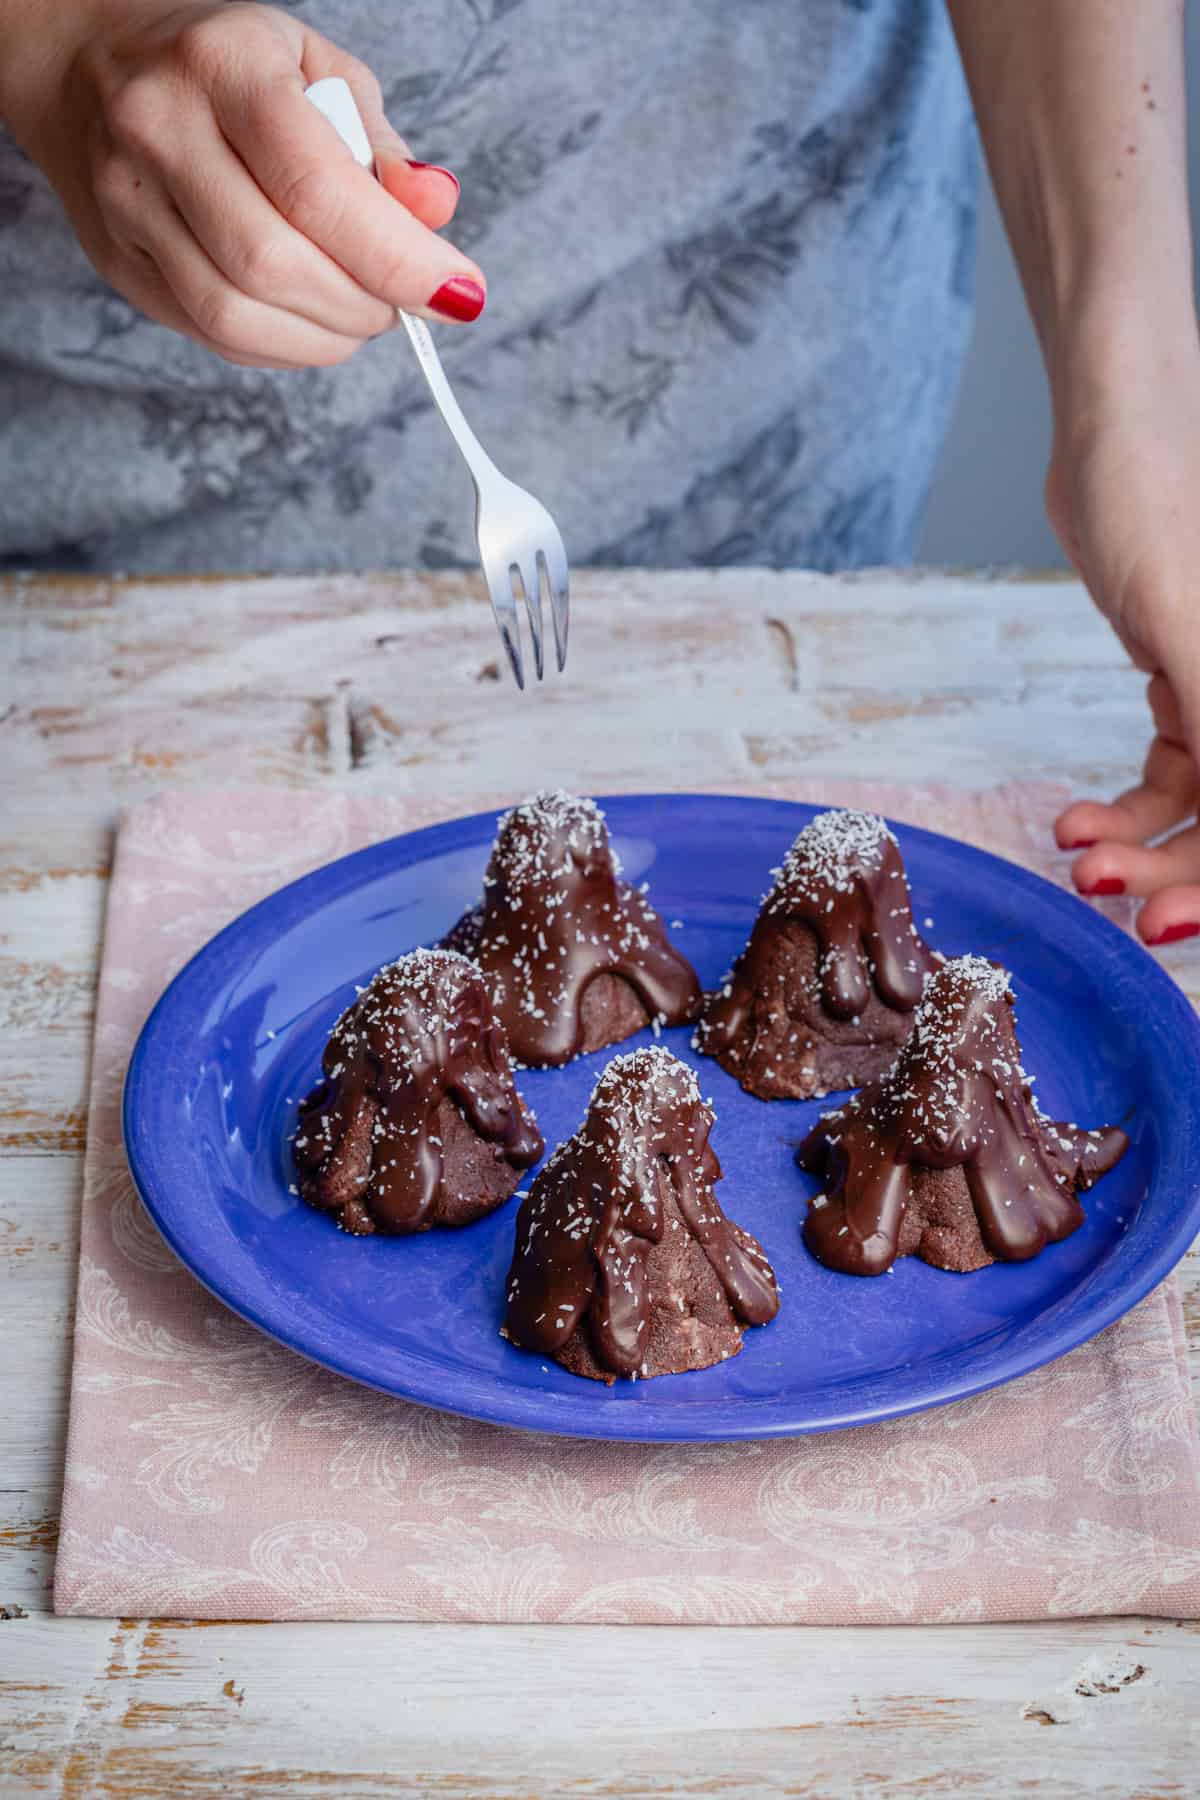
Skalichki are more than just a dessert; they're a link to the past and a celebration of creativity. Their unpolished appearance and rich flavor remind us that the simplest recipes often bring the most joy. These treats are perfect for family gatherings, holidays, or an everyday snack-and they're a wonderful project to make with kids.
📝 Recipe
Skalichki (Chocolate Peaks)
Equipment
- Food Processor
Ingredients
For the Mixture:
- 7.8 oz/ 220 g cookies, or graham crackers, see notes
- 80 g walnuts
- 2 tablespoon cocoa powder
- 2 tablespoon powdered sugar
- 125 g butter, softened
- 1 tablespoon desiccated coconut
- 1 teaspoon rum extract
- Orange zest
- pinch of cinnamon
- 4-5 tablespoon milk
For the Glaze:
- 100 g chocolate
- 40 ml water , or milk
- 1 tablespoon desiccated coconut
Instructions
For the Mixture:
- Place the biscuits, walnuts, powdered sugar, and cocoa powder in a food processor. Grind on high speed until fine crumbs form.
- Add the softened butter, desiccated coconut, rum extract, orange zest, and cinnamon. Continue processing until the butter is evenly distributed.
- Gradually add the milk, one tablespoon at a time. Pulse the food processor after each addition and check the consistency. The mixture should be thick enough to handle easily with your hands.
- Transfer the mixture to a bowl. Using your hands, break off small pieces and shape them into cylinders. Place them on a baking sheet lined with parchment paper.
- Shape the cylinders into cones, creating "mountain peaks." If the peaks are too soft, chill them in the refrigerator for a few hours before glazing and serving.
For the Glaze:
- Combine the chocolate and water (or milk) in a small saucepan over a double boiler. Melt the chocolate, stirring until smooth. Allow it to cool slightly (it should not be hot).
- Use a spoon to pour the glaze over each peak. Once the glaze sets, sprinkle with desiccated coconut.
Notes
Biscuits: You can use plain, tea, or even chocolate biscuits. If using chocolate biscuits, omit or reduce the cocoa powder. The amount of milk needed will vary depending on the type of biscuits used.
You can also use leftover cake that has started to dry out.


Comments
No Comments