

Making a Chocolate Sponge Cake is easier than you may think. And this recipe will give you not only amazing fluffy layers but also rich and delicious frosting, very similar to No-Bake Chocolate Cheesecake!
If you like sponge cakes, I am sure you would love the Peach Chiffon Cake and the Walnut Sponge Cake!

Why is this cake so good
- Easy to make: no special skills required, you just need a mixer, a few simple ingredients and little time.
- Very luscious: a great choice for any special occasion when you want to impress
- Perfect for chocolate lovers: both the filling and the layers contain cocoa.
- It is a hybrid between no-bake cheesecake and a layer cake: perfect for the times when you want both! Another similar dessert is the Raspberry Cheesecake Cake.
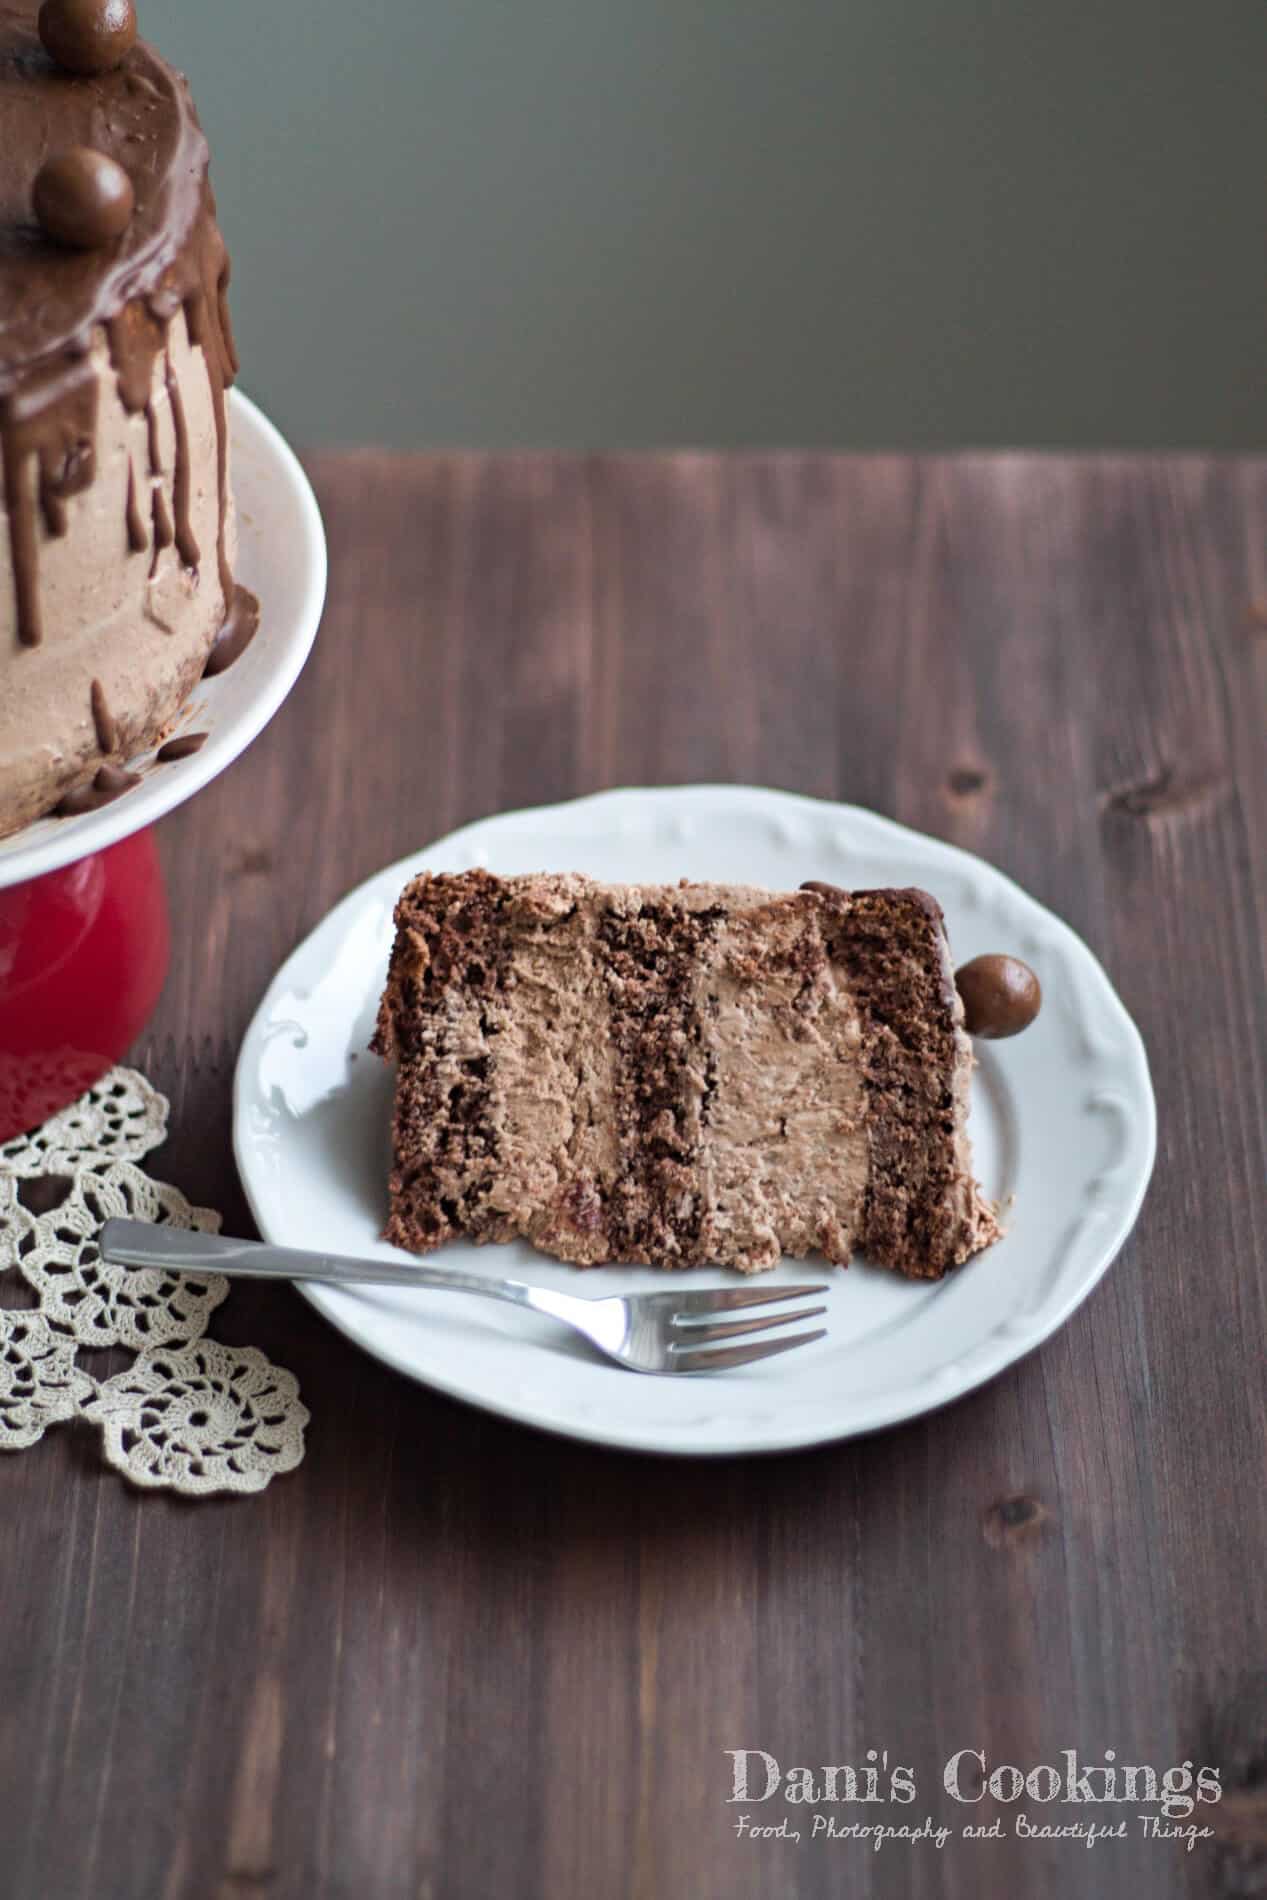
Making the layers
Like most of the sponge cakes, this one is easy and straightforward. It is made following the egg separation method: that means you need to divide the eggs into yolks and whites and beat them separately in two bowls.
First beat the egg whites and then in a second bowl - the yolks with the sugar and vanilla. Then gradually add the dry ingredients until absorbed (see recipe below for more details).
This method is much easier than the classic creaming method (beating soft butter and sugar in a bowl) as the fail is much lower. And sincerely, I like the result better.
The cake does not contain oil and milk, so it is ultra fluffy. It won't be dry because it will absorb the moisture from the frosting.
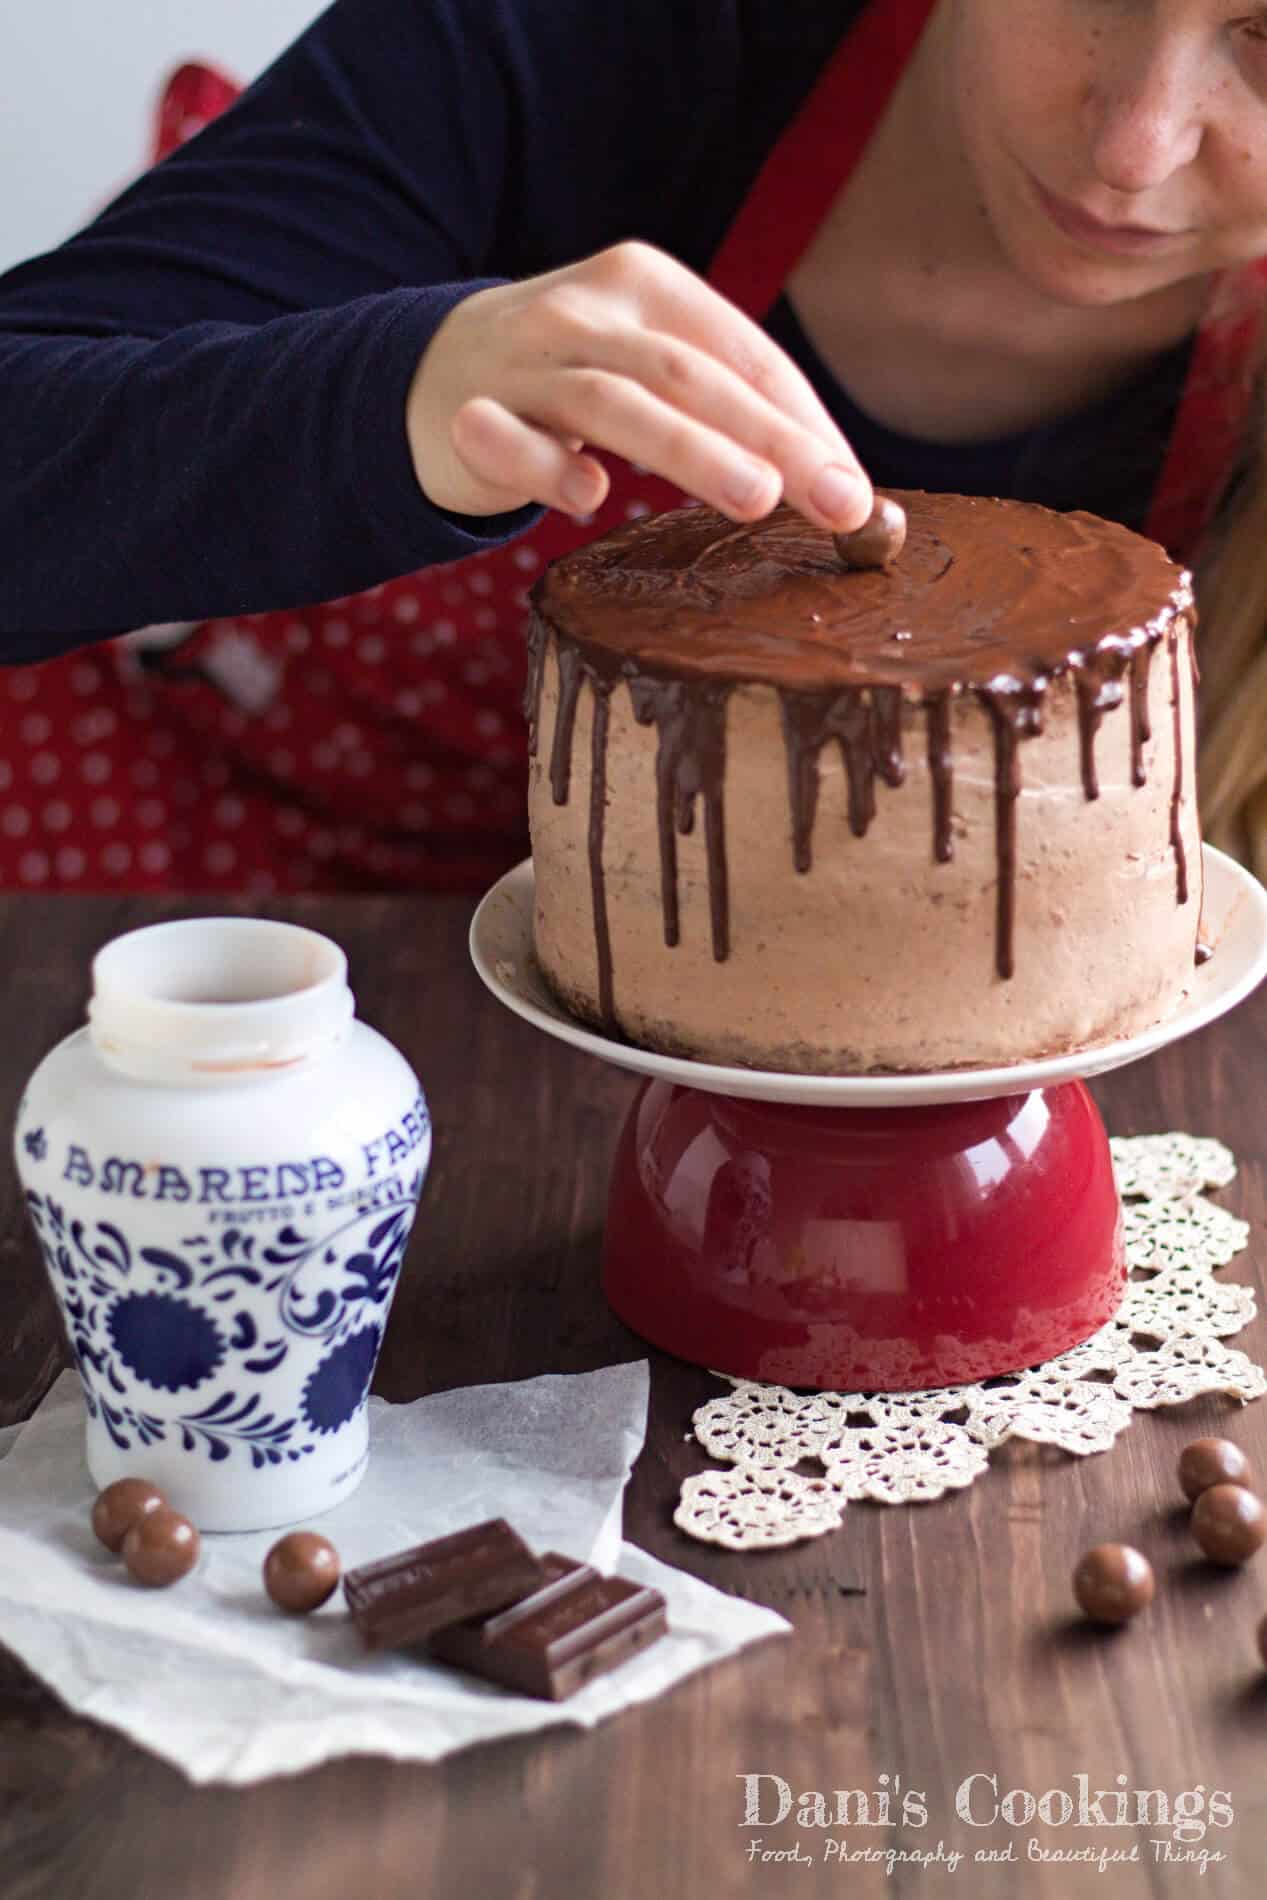
Making the frosting
The frosting is a combination of mascarpone, cream cheese, sour cream, powdered sugar and dark chocolate. The result is light colored icing, like the one of the Vanilla Cake with Chocolate Frosting and Berries, resembling also a no-bake cheesecake.

Recipe tips
- Originally this cake is baked in 1 7 inch/ 18 cm cake pan and then cut into 3 layers. You can also bake it in 2 or 3 pans (if you have so many) to avoid cutting the layers. Consider that the baking time in this case will be shorter.
- For a bigger cake, use the Cake Pan Size calculator.

Serving and storing
As most other cakes, this one needs to be stored in the fridge for up to 4 days. If you have too many leftovers, don't hesitate to freeze them: I usually slice them and place them in freezer containers for up to 2 months.
This is an amazing Chocolate Sponge Cake, easy to make and great for parties all year round!
If you've made it would be glad to hear what was your experience!
And if you are a chocolate lover, here is a selection of desserts that you may like:
📝 Recipe
Chocolate Sponge Cake with Cheesecake filling
Ingredients
For the sponge cake:
- 4 eggs, divided
- ¾ cup/ 150 g sugar
- ⅞ cup/ 100 g cake flour, or all-purpose flour
- 1 tsp/ 10 g cocoa powder
- 1,5 teaspoon baking powder
- ⅓ teaspoon salt
- 1 teaspoon vanilla extract
For the Cheesecake filling:
- ⅞ cup/ 100 g powdered sugar
- 3,5 oz/ 100 g dark chocolate, melted
- 2 cups/ 500 g mascarpone
- 6,1 oz/ 175 g cream cheese
- ⅞ cup/ 200 g sour cream
For the glaze:
- 1,7 oz/ 50 g dark chocolate
- ⅓ cup/ 80 ml milk
Instructions
Sponge cake:
- Preheat the oven to 350° F/ 180° C.
- Line a 7 inch/ 18 cm spring form pan with a circle of baking paper and grease well inside the pan.
- Sift flour, salt and cocoa powder and set aside.
- In a large bowl beat egg yolks with sugar and vanilla until thick.
- In another bowl beat the egg whites for about 5 minutes, until thick (wash and dry the beaters after the egg yolks).
- Using a rubber spatula, gradually fold the dry ingredients to the egg yolk mixture, until combined. Carefully fold in the egg whites.
- Pour the batter into the prepared pan and bake for 40-45 minutes or until a wooden skewer inserted in the center comes out clean. Remove the cake from the oven and let cool for few minutes. Transfer to a wire rack to cool completely.
Cheesecake filling:
- In a large bowl combine all ingredients (at near room temperature), except the chocolate, and beat at medium speed until well combined.
- Little by little add the melted chocolate (not hot) and continue beating. an leave it in the freezer for 15 minutes.
- When the mixture becomes smooth, cover the bowl with plastic wrap and let it stay in the fridge for 30 minutes to 1 hour to become firmer. Alternatively you c
To assemble the cake:
- Using a serrated knife cut the sponge cake horizontally in three layers.
- Place one layer on a plate and cover it with half of the cheesecake filling. Carefully place another layer on top and add the rest of the filling. Place the third layer on top (preferably the bottom one). Use an offset spatula or a knife to spread the filling evenly around the cake.
- Pour the warm glaze over the cake. Decorate with chocolate candy.
Glaze:
- Combine the chocolate and milk in a heatproof bowl and place it over a pan of simmering water. Stir occasionally. When the chocolate melts completely and the mixture becomes homogeneous, pour it on top of the assembled cake.


Елена Златева says
Здравейте , мисля да се пробвам да я направя , че много добре изглежда 🙂 ! Но ако я направя в малко по - голяма форма дали ще се получи?
Daniela says
Много се радвам, че ви е харесала, Елена! В зависимост от големината на формата, вероятно ще се наложи да увеличите количеството на продуктите. За форма с големина 26 см ще трябва да използвате около 50% повече. Ако е 23-24 см, може да ги увеличите с около 1/4.
Имайте предвид, че при по-голяма форма тортата става по-ниска 🙂
Успех и ще се радвам да споделите резултата!
Ana says
Здравейте! Колко сантиметра е формата, благодаря 🙂
Daniela says
Здравейте Ана! В зависимост от височината, може да се използва форма 18-20 см за тази торта. Благодаря и на вас за подсещането: поправих вече пропуска в рецептата 🙂 Поздрави!
Galina Zahova says
Здравей, Дани! И аз като теб обичам да правя предимно десерти и с удоволствие изследвам и експериментирам рецептите ти 🙂 Искам да попитам какъв е диаметърът на шоколадовата торта с чийзкрем, изглежда по-малка. Последвах те и в Instagram, така че и там ще се виждаме 🙂
Daniela says
Здравей Галина! Благодаря за прекрасния отзив 🙂 Рецептата е за форма с диаметър 18-20 см, в зависимост от височината. Съжалявам за пропуска - вече поправих рецептата. Поздрави!
Анна says
Здравейте! Изглежда много вкусна и лека, но искам да попитам дали е необходимо блатовете да бъдат сиропирани? 🙂
Daniela says
Здравейте Анна!
Много се радвам, че сте я харесали 🙂 В рецептата не съм включила сиропиране на блатовете, защото не смятам, че е необходимо. В чийзкейк пълнежа няма желатин, така че той леко овлажнява блатовете, след като тортата престои няколко часа в хладилника. Освен това кремът е преобладаващо количество, така че тортата няма как да се усети суха.
От друга страна не пречи да се сиропира, ако обичате по-влажни сладкиши, но трябва да е съвсем леко, защото кремът е много и има опасност да се разпадне тортата.
Ще се радвам да споделите резултата, ако изпробвате рецептата!