An everyday cake that is worth making also for special occasions?
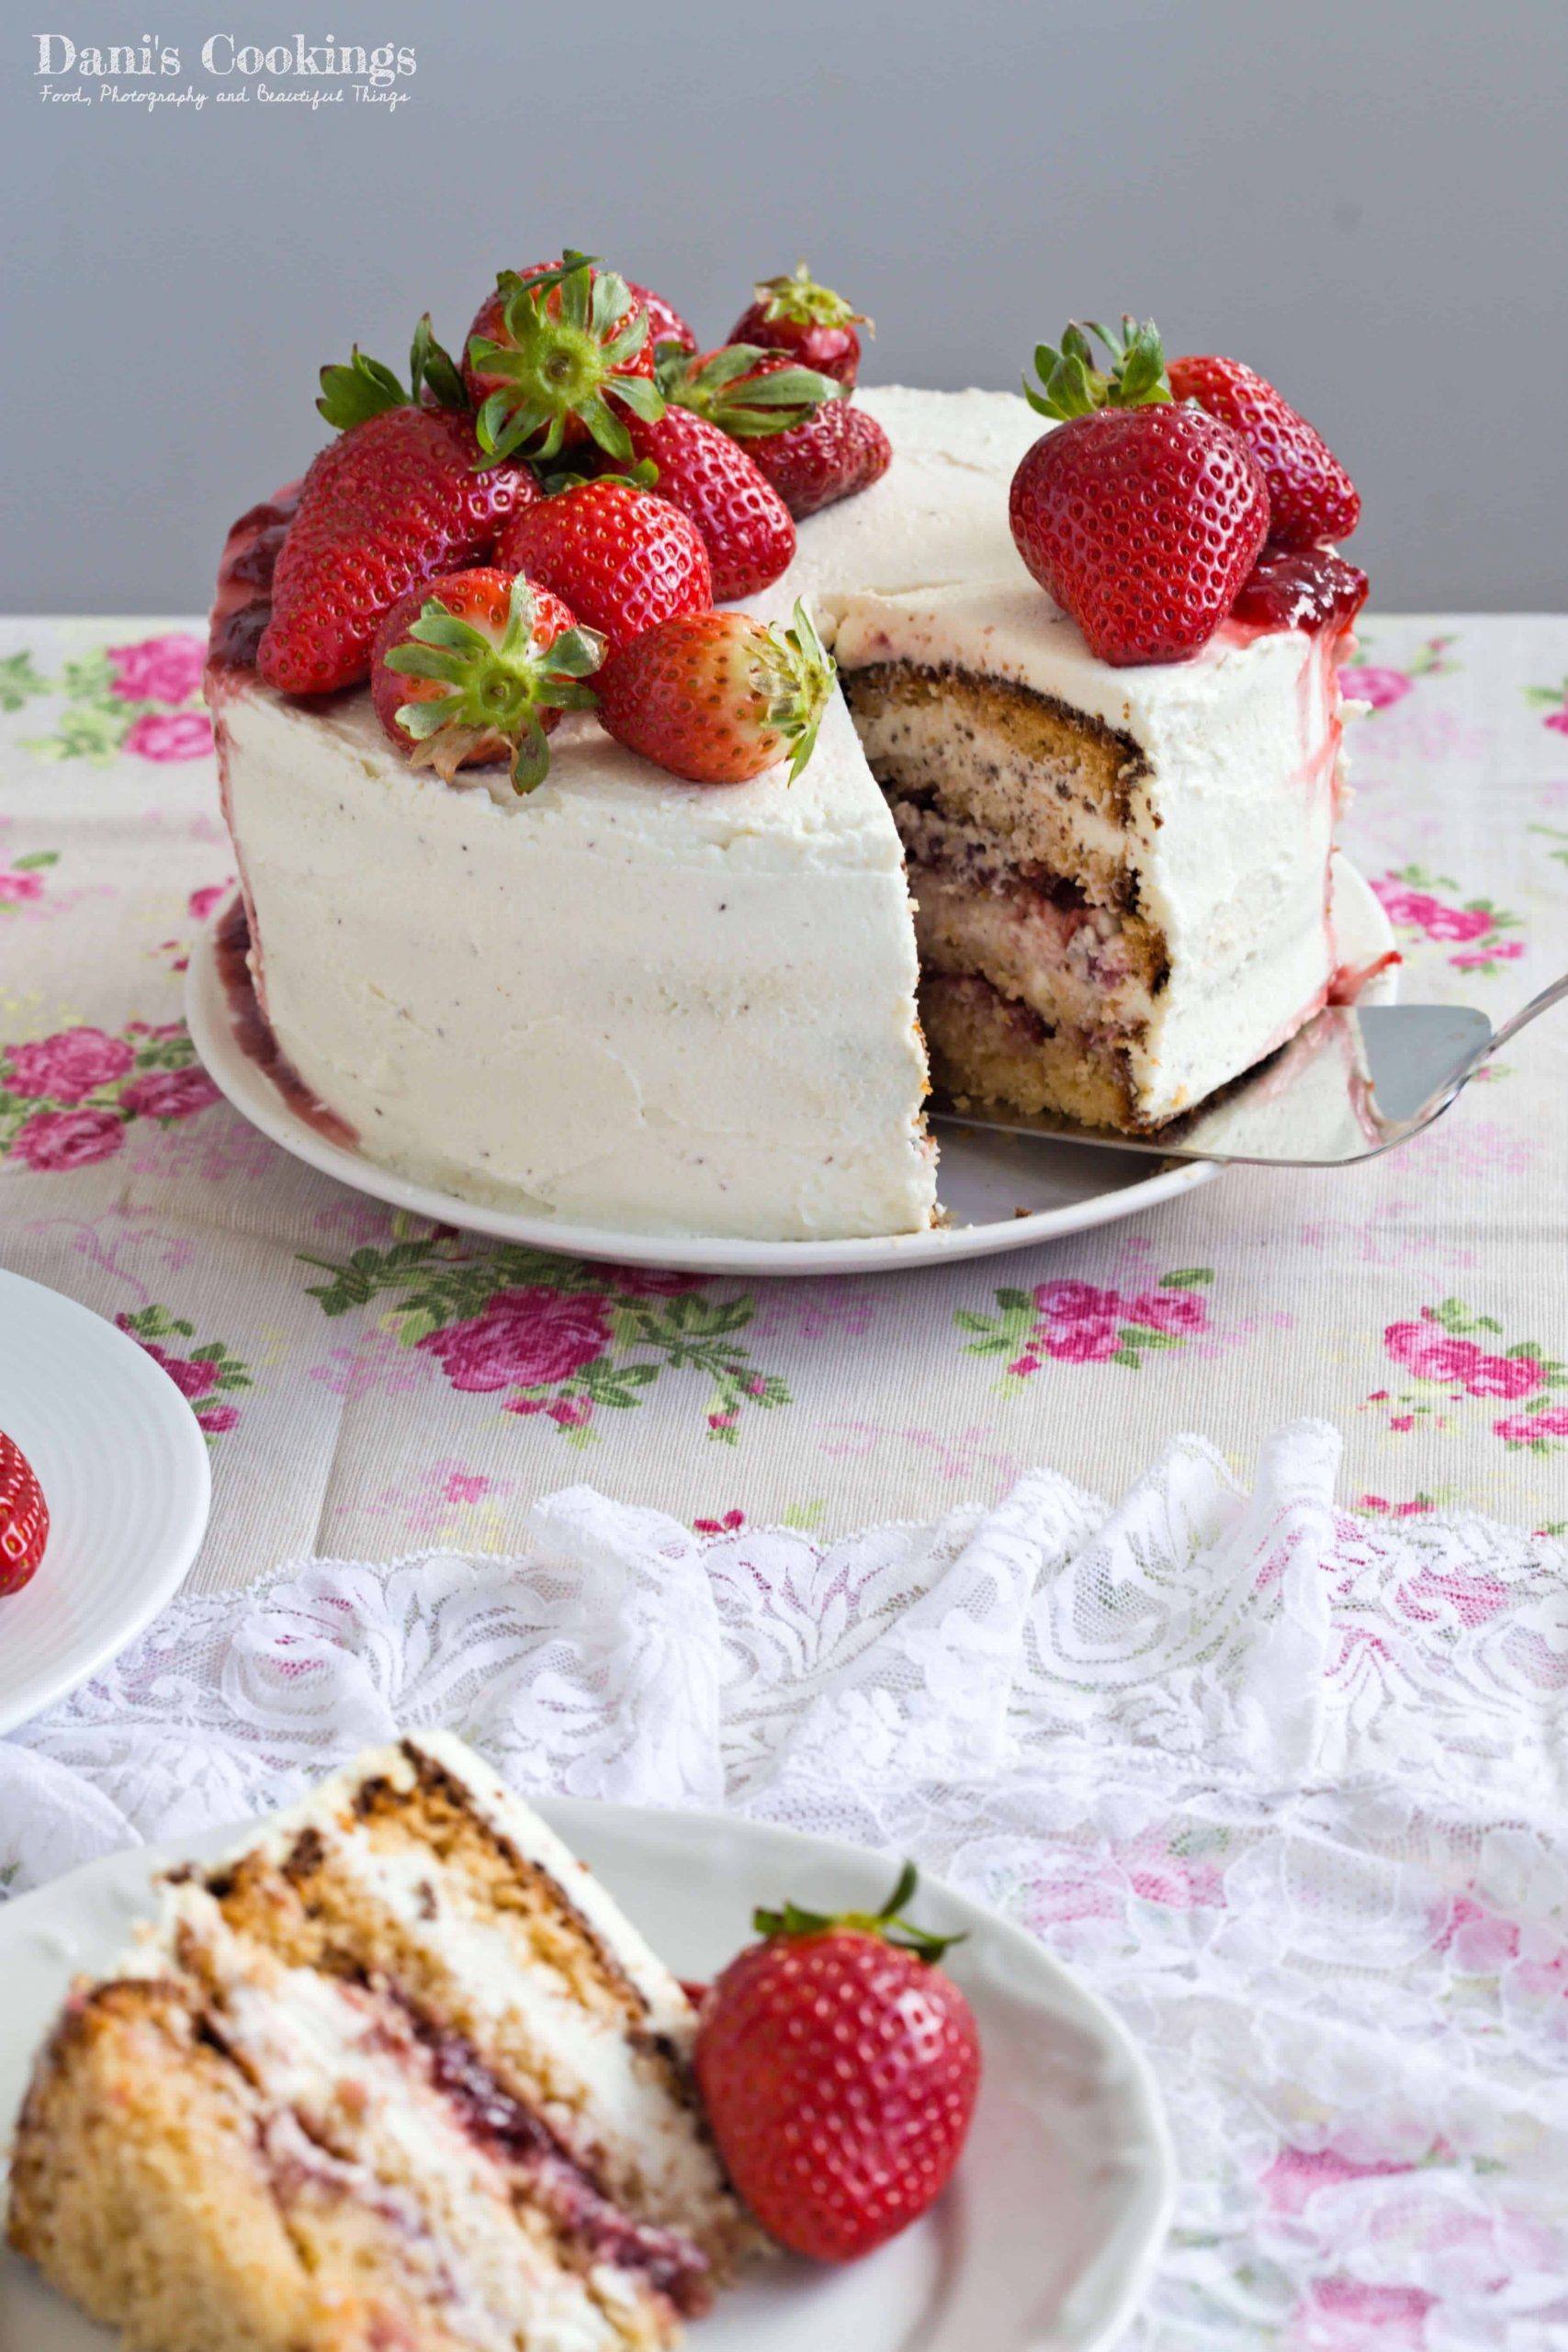
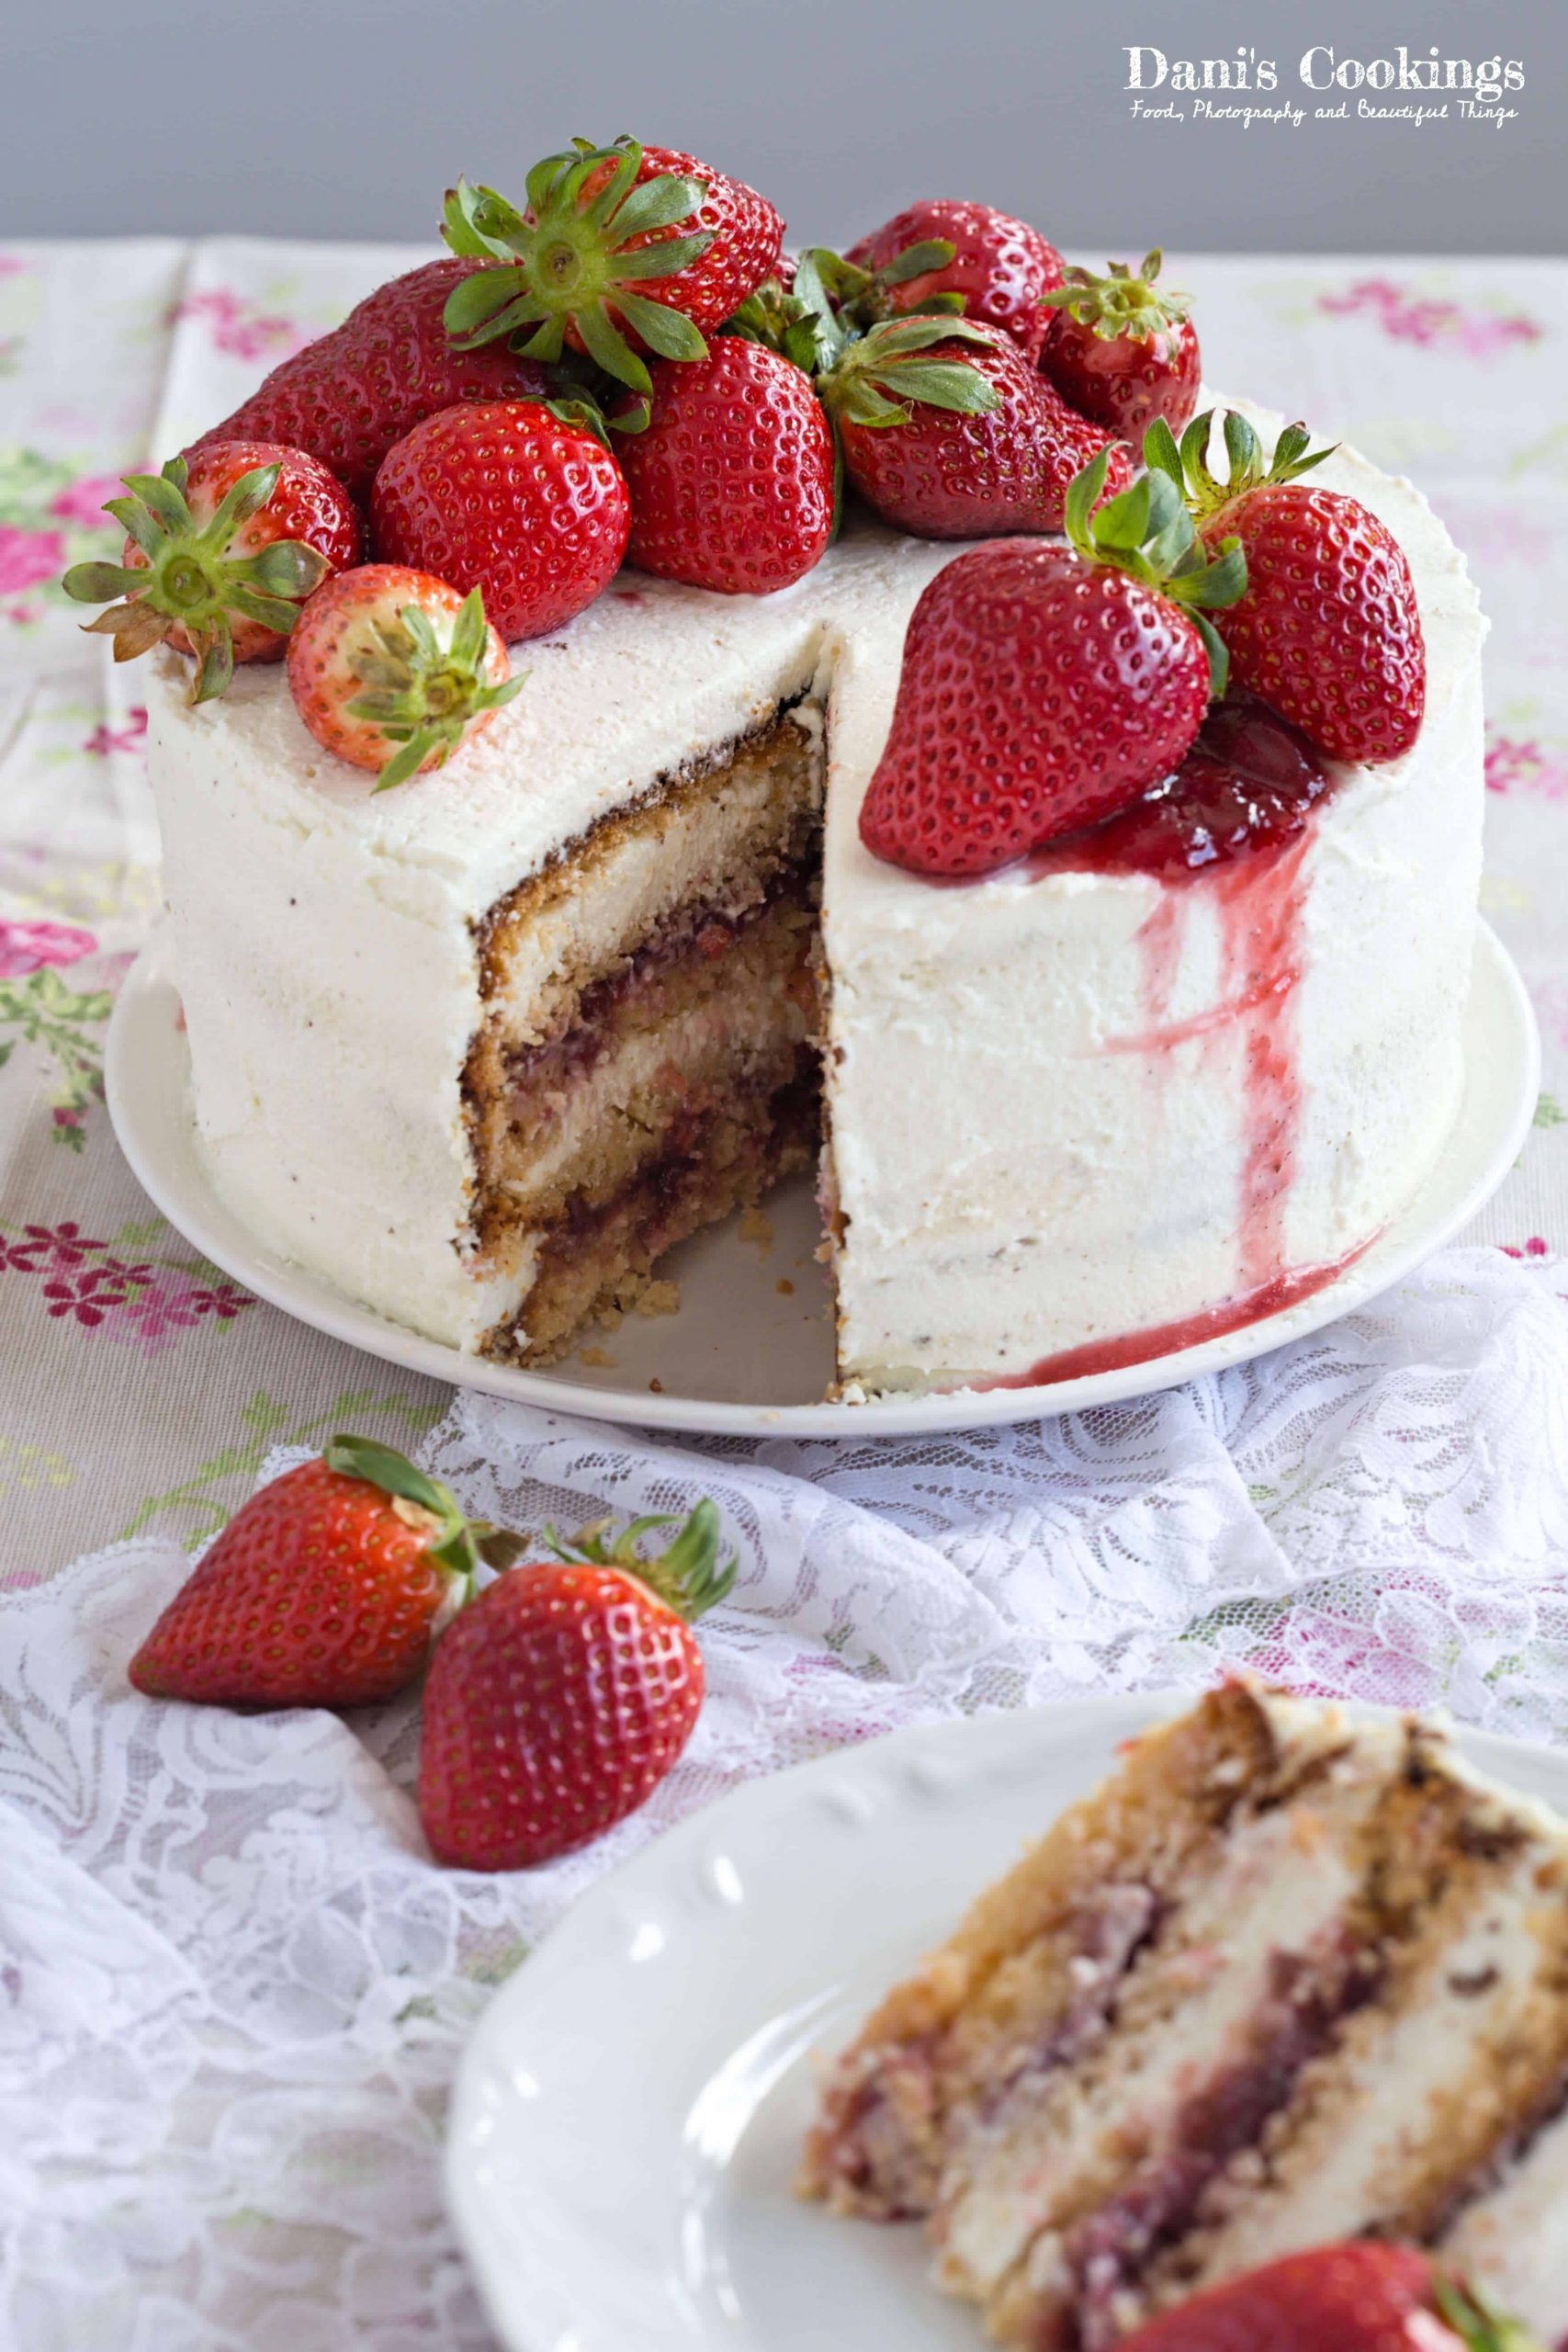
This Strawberry Jam Cake is a dessert - perfection! Fluffy layers with peanut butter, light and tasty frosting and strawberry jam garnish: a real pleasure for all senses! It is like a Peanut Butter and Jelly Cake but even better!
This cake is a wonderful combination of peanut butter layers, creamy frosting and strawberry jam. It follows the classic peanut butter & jelly combination in an elegant twist.
The frosting is truly unique, with ricotta, white chocolate and sour cream for velvety perfection.
What ingredients you need
To make the cake layers you need mainly simple ingredients:
peanut butter
eggs
sour cream
honey
brown sugar
flour
baking powder
salt
vanilla
For the frosting and decoration you need:
strawberry jam: if you have fresh strawberries only, you can make a quick jam
white chocolate
sour cream
vanilla sugar or extract
ricotta
You will find the complete list and the required quantities in the recipe card below!
Preparation summary
This cake is pretty straight forward - I would even say easy.
To make the layers you need to beat the eggs with the sugar and honey and then gradually add the rest of the wet ingredients. At the end mix in the dry ingredients.
You can bake the base in one 7 inch pan and cut it later into 4 layers. It is even better to use 2 pans as the baking would take less time.
After baking the layers and cooling them down, make the frosting. Whip the sour cream and ricotta and add the melted white chocolate with a rubber spatula.
More detailed instructions you will find below the post!
Decoration ideas
This cake is perfect decorated with strawberries. But if you make it out of their season, you can decorate it in a different way. Peanuts, candied strawberries, sprinkles… or why not mix some peanut butter with the frosting that remains at the end and pipe it on top? The possibilities are endless and the taste of that cake would be always great!
Storing
Keep the leftovers in airtight containers in the fridge for up to 4 days.
You can also freeze the slices in airtight containers for up to 2 months.
Can you make the layers ahead
Yes! You can bake the base, cool it down and freeze it, very well wrapped in plastic wrap. Then you can assemble it just one day before serving.
To thaw the base, simply transfer it from the freezer to the fridge the night before assembling the cake.
Here are some more strawberry dessert recipes that I am sure you will love:
Preheat oven to 180 degrees C (350 degrees F). Line a 17-18 cm cake pan with a circle of baking paper. Grease well the pan on top of the paper and on the sides.
In a bowl combine flour, baking powder and salt and stir.
In a large bowl using an electric mixer beat the eggs together with honey and sugar for about 10 minutes at high speed, until the mixture becomes thick and significantly increases its volume. Add sour cream, vanilla and peanut butter and beat until smooth. Add the dry ingredients and carefully stir them with a rubber spatula or a wooden spoon, until absorbed.
Transfer the batter to the prepared pan. Bake for 40-50 minutes or until a wooden skewer inserted in the centre comes out clean. Let the cake cool until room temperature before assembling it.
Frosting:
In large mixing bowl combine ricotta, sour cream and vanilla sugar. Beat with the mixer at high speed until fluffy. Using a rubber spatula carefully fold in the white chocolate until absorbed.
Refrigerate the frosting for ½ to 1 hour before assembling the cake.
To assemble:
Cut the cake horizontally into 4 layers. The layers will be very thin so they might break but this is fine. Place one layer on top of a serving plate. If you have 4 layers, spread a bit less than half of the strawberry jam on top. If your layers are 5, spread some of the frosting. Continue placing more layers and alternating the frosting and the strawberry jam. Frost the cake all around with the remaining frosting.
Decorate the cake as desired. Some ideas: fresh strawberries, jam, peanut butter, piped frosting, chocolate sprinkles, candied strawberries.
Notes
Instead of self raising flour you can use all purpose flour and 2,5 teaspoons baking powder in total.
If you don't have strawberry jam, make a quick jam of fresh or frozen strawberries. Use 2 cups / 250 g of chopped strawberries and ½ cup / 100 g sugar. Cook them for 10-15 minutes until the jam thickens. Optionally use a food processor to puree the jam until smooth.
Cake Pan Conversions CalculatorAdapt any cake recipe to your pan with this calculator!
Здравейте, при редуването на блатовете, Всеки блат ли се намазва и с крема и със сладкото ? Или единият блат се намазва само със сладко, а вторият само с крем.
Здравейте! Изпробвах рецептата Ви съвсем скоро и бих искала да споделя,че, докато блатът се получи супер и стана наистина вкусен, имах проблем с крема - беше прекалено течен. Не се стегна и след престоя си в хладилника, спаси ме малко желатин, който прибавих по-късно в отчаянието си да избегна пълен провал и да не изгубя два часа от деня си. Бих искала да попитам да не би оригинално в рецептата да се слага желатин...или? Не разбирам как би се получил по- гъст крем иначе, примерно спазвах рецептата Ви. А относно снимките Ви на тортата - наистина много красиви, дори успяха да ме вдъхновят да се застоя в кухнята! Браво!
Здравейте Тея,
Съжалявам, че кремът не се е получил!
Със сигурност не съм ползвала желатин. Единственото, което ми хрумва като причина за по-течен крем е, че може би различните марки сметана/ шоколад имат различна гъстота и оттам се е получил проблемът. Аз в последно време използвам най-често заквасена сметана на Олимпус или на Бор Чвор, защото ми се струват по-гъсти. Белият шоколад, който купувам гледам да не е много мек в твърдо състояние: обикновено взимам от Лидл, но съм ползвала и други. Милка избягвам в сладкарството, макар да е много вкусен за ядене, защото е доста мек. При рикотата ми се струва, че няма голяма разлика в консистенциите, но все пак е възможно и тя да се е отразила, ако е по-течна...
Но като цяло съветът ми е при проблем с гъстотата на този крем да се увеличи белият шоколад, защото той е основната стягаща съставка, а и е вкусен 🙂
Надявам се да съм била полезна!
Поздрави
Даниела







Ани says
Здравейте, при редуването на блатовете, Всеки блат ли се намазва и с крема и със сладкото ? Или единият блат се намазва само със сладко, а вторият само с крем.
Daniela says
Здравейте Ани,
Единият блат се намазва със сладко, а следващият с крем.
Поздрави
Даниела
Ани says
Получи се страхотна тортата :)) чудесна рецепта. Промених само брашното със самонабухващо, безглутеново. Благодаря
Daniela says
Много се радвам! Благодаря, че споделихте 🙂
Тея says
Здравейте! Изпробвах рецептата Ви съвсем скоро и бих искала да споделя,че, докато блатът се получи супер и стана наистина вкусен, имах проблем с крема - беше прекалено течен. Не се стегна и след престоя си в хладилника, спаси ме малко желатин, който прибавих по-късно в отчаянието си да избегна пълен провал и да не изгубя два часа от деня си. Бих искала да попитам да не би оригинално в рецептата да се слага желатин...или? Не разбирам как би се получил по- гъст крем иначе, примерно спазвах рецептата Ви. А относно снимките Ви на тортата - наистина много красиви, дори успяха да ме вдъхновят да се застоя в кухнята! Браво!
Daniela says
Здравейте Тея,
Съжалявам, че кремът не се е получил!
Със сигурност не съм ползвала желатин. Единственото, което ми хрумва като причина за по-течен крем е, че може би различните марки сметана/ шоколад имат различна гъстота и оттам се е получил проблемът. Аз в последно време използвам най-често заквасена сметана на Олимпус или на Бор Чвор, защото ми се струват по-гъсти. Белият шоколад, който купувам гледам да не е много мек в твърдо състояние: обикновено взимам от Лидл, но съм ползвала и други. Милка избягвам в сладкарството, макар да е много вкусен за ядене, защото е доста мек. При рикотата ми се струва, че няма голяма разлика в консистенциите, но все пак е възможно и тя да се е отразила, ако е по-течна...
Но като цяло съветът ми е при проблем с гъстотата на този крем да се увеличи белият шоколад, защото той е основната стягаща съставка, а и е вкусен 🙂
Надявам се да съм била полезна!
Поздрави
Даниела