
You can make this Oreo Ice Cream Cake from scratch in your own kitchen with just five simple ingredients! It is the ultimate frozen dessert, the showstopper of every party! With cheesecake-like texture and amazing taste, it will melt in your mouth.
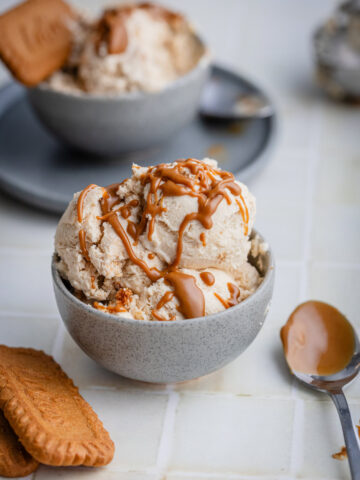
If you like Cookies & Cream, don't miss also my Biscoff Ice Cream and the Mini Oreo Cheesecake Tacos.

Why Homemade Ice Cream Cake?
My homemade ice cream cakes have received lots of raving reviews, especially the Black Forest No Churn Ice Cream Cake and the Neapolitan Ice Cream Cake. That's because, as it turns out, you don't need special tools (including ice cream maker) to prepare a delicious, creamy and smooth frozen cake from scratch at home.
The current recipe is partially ice cream, partially frozen cheesecake and is a real pleasure for all cookies & cream lovers.

What ingredients you need
This is a recipe without eggs and without any baking or cooking. The necessary ingredients are just 5, easy to find in local stores:
- Cream cheese
- Heavy Cream
- Sweetened condensed milk
- Oreo Cookies
- Butter
You can also add other ingredients for decoration, like chocolate or peanut butter but they are not required for this cake to have an excellent taste and appearance.
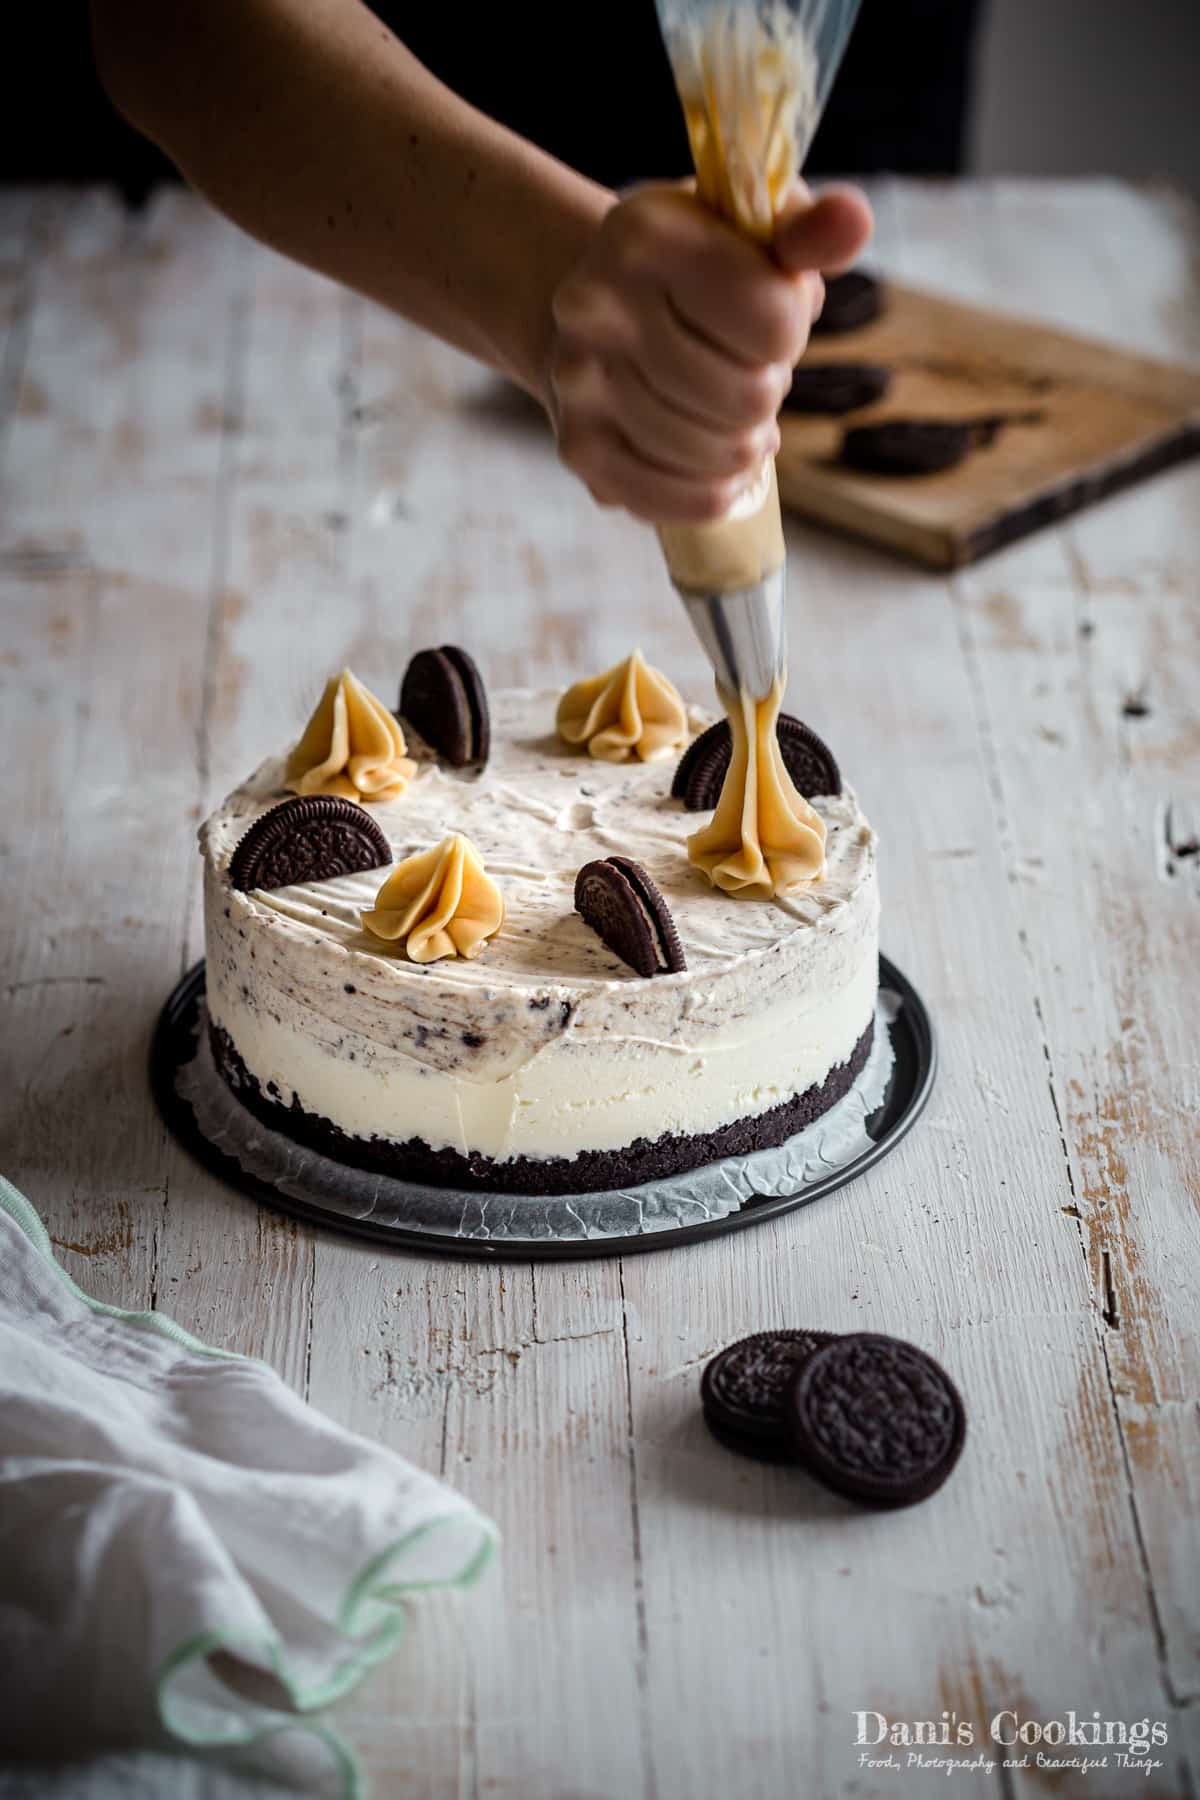
I decorated my cake with some of the frosting from the Chocolate Peanut Butter Cupcakes, which was quite a good addition to the taste.
If you don't want to make a frosting but you still want a more elaborate decoration, you can pipe some whipped cream instead.
Preparation summary
You can prepare this wonderful no-churn ice cream dessert even if you don't have any baking experience: it is that easy!
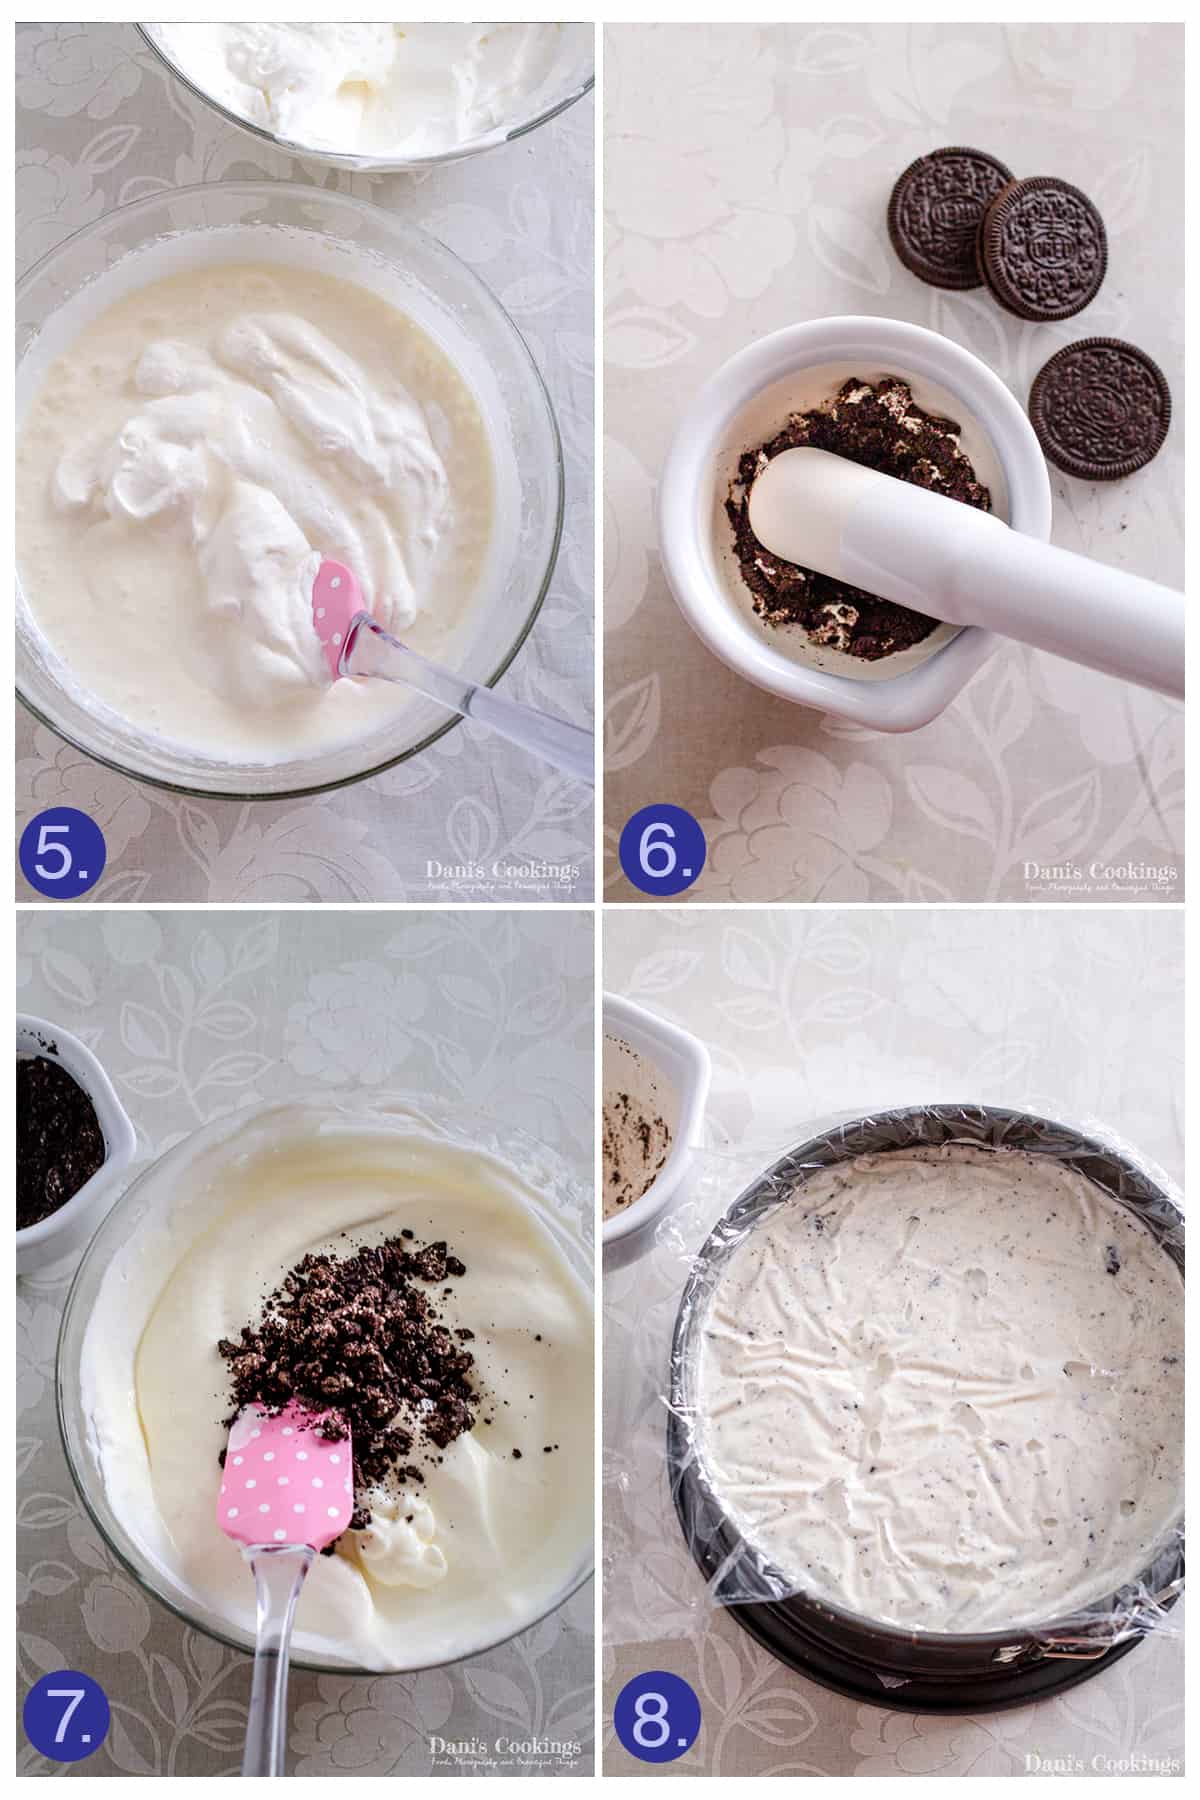
- First you need to melt the butter and crush some cookies into fine crumbs. The crust is made by mixing these two ingredients. Press the mixture onto the bottom of a spring form pan lined with parchment paper.
- After the crust make the filling by whipping the cream and separately the cream cheese and condensed milk.
- Using a rubber spatula combine both mixtures. You can divide the mixture in two parts and add crushed cookies just to one half: that way you will make a layered cookies and cream cheesecake.
- Or you can just mix the cookie crumbs with the whole quantity of ice cream: it is up to you.
- Pour the ice cream mixture into the pan with the crust and cover with cling film. Freeze until firm (6-8 hours) before decorating.
How to serve
Before serving the ice cream cake, preferably leave it for 10-15 minutes at room temperature which would make slicing it easier. If it's a hot summer day, five minutes might be enough.
Slice the cake with a large wet knife. Optionally sprinkle with chocolate shaves or cookie crumbs, or pour some chocolate sauce on top before serving.
This cake goes very well with a cold beverage like a cup of cold milk, homemade frappe, Raspberry Lemonade or Iced Tea.

Storing tips
Your Oreo Cheesecake Ice Cream Cake can stay in the freezer for 1-2 months. But trust me, you won't let it stay so long, it will disappear in no time!
Before serving it, let stay at room temperature for 10-15 minutes and then slice it with a sharp knife. If you make it for a party, you can leave it at room temperature for about an hour but if it is very hot you might want to reduce this time to 40 minutes.
Did you like this recipe? Here are some more no-churn frozen desserts to try:
- Chocolate Banana Nice Cream
- No Churn Lemon Cheesecake Ice Cream
- Lemon and Chocolate Semifreddo
- Zebra Ice Cream Cake
- Raw Avocado Banana Cake
If you liked this post, please share it in social media! This will help other people benefit from it!

📝 Recipe
Oreo Cheesecake Ice Cream Cake
Ingredients
For the crust:
- 12 oreo cookies
- 3 tbs/ 40 g butter, melted
For the ice cream:
- 8 oreo cookies
- 1 ⅓ cup/ 300 g cream cheese
- 1 cup/ 250 ml whipping cream, cold
- 14 oz/ 397 ml sweetened condensed milk
Instructions
- Line a 7 inch / 18 cm spring form pan with a circle of parchment paper.
Crust:
- Crush the cookies with a food processor into fine crumbs. Alternatively place them in a plastic bag and use a rolling pin to break them. Transfer the crumbs to a bowl.
- Add melted butter to the cookie crumbs and mix very well until combined. Press the mixture to the bottom of the prepared pan. Leave the pan in the fridge.
Filling:
- In a large mixing bowl whip the cream with an electric mixer until thickened.
- In another bowl beat together the condensed milk and cream cheese until smooth.
- Using a rubber spatula combine the two mixtures, folding gently until incorporated.
- Break the cookies into irregular pieces using a kitchen grinder.
- Divide the mixture in two parts. Pour one part into the crust in the pan. Fold the cookies into the other half, using a rubber spatula. Pour into the pan and smooth out the top with the spatula.
- Freeze the ice cream cake for 8 hours or overnight, until stiff.
- Decorate before serving. You can use cookies, chocolate or pipe some whipped cream or frosting by choice.
Notes
- Make sure the cream is at least 30% fat and has been refrigerated for 6-8 hours before whipping it.
- Dividing the ice cream mixture in two parts is an optional step, in order to make a layered cake. You can add the broken cookies into the whole mixture.
- Before serving leave the cake at room temperature for 10-15 minutes. Cut with a large wet knife.
- Store the cake in the freezer for 1-2 months.
- The frosting used in the photos is from the Chocolate Cupcakes with Peanut Butter Frosting


David M. says
Going to try this for my nephews 5th birthday coming up. I'm thinking of "alternating" the top with Oreo balls (truffles) and Oreo cookies. Here's the recipe from the food network for the Oreo balls. https://www.foodnetwork.com/recipes/food-network-kitchen/oreo-balls-7437164
Where did you get the cake stand?
Daniela Lambova says
Sound really nice to me, I am sure they would love it.
I bought that cake stand from a tiny kitchenware shop many years ago when I was on holiday in the Bulgarian town Velingrad.
Liz says
Made this for a friends party. It was a huge success!
Daniela says
I am really happy to hear that, Liz! Thanks for your feedback
merudia.bg says
Ех, любимите бисквити на детето ми 🙂 Спечели ме с тази рецепта 🙂 Вили
Daniela says
Много се радвам, че ти е харесала, Вили! 🙂